Click photo for job details
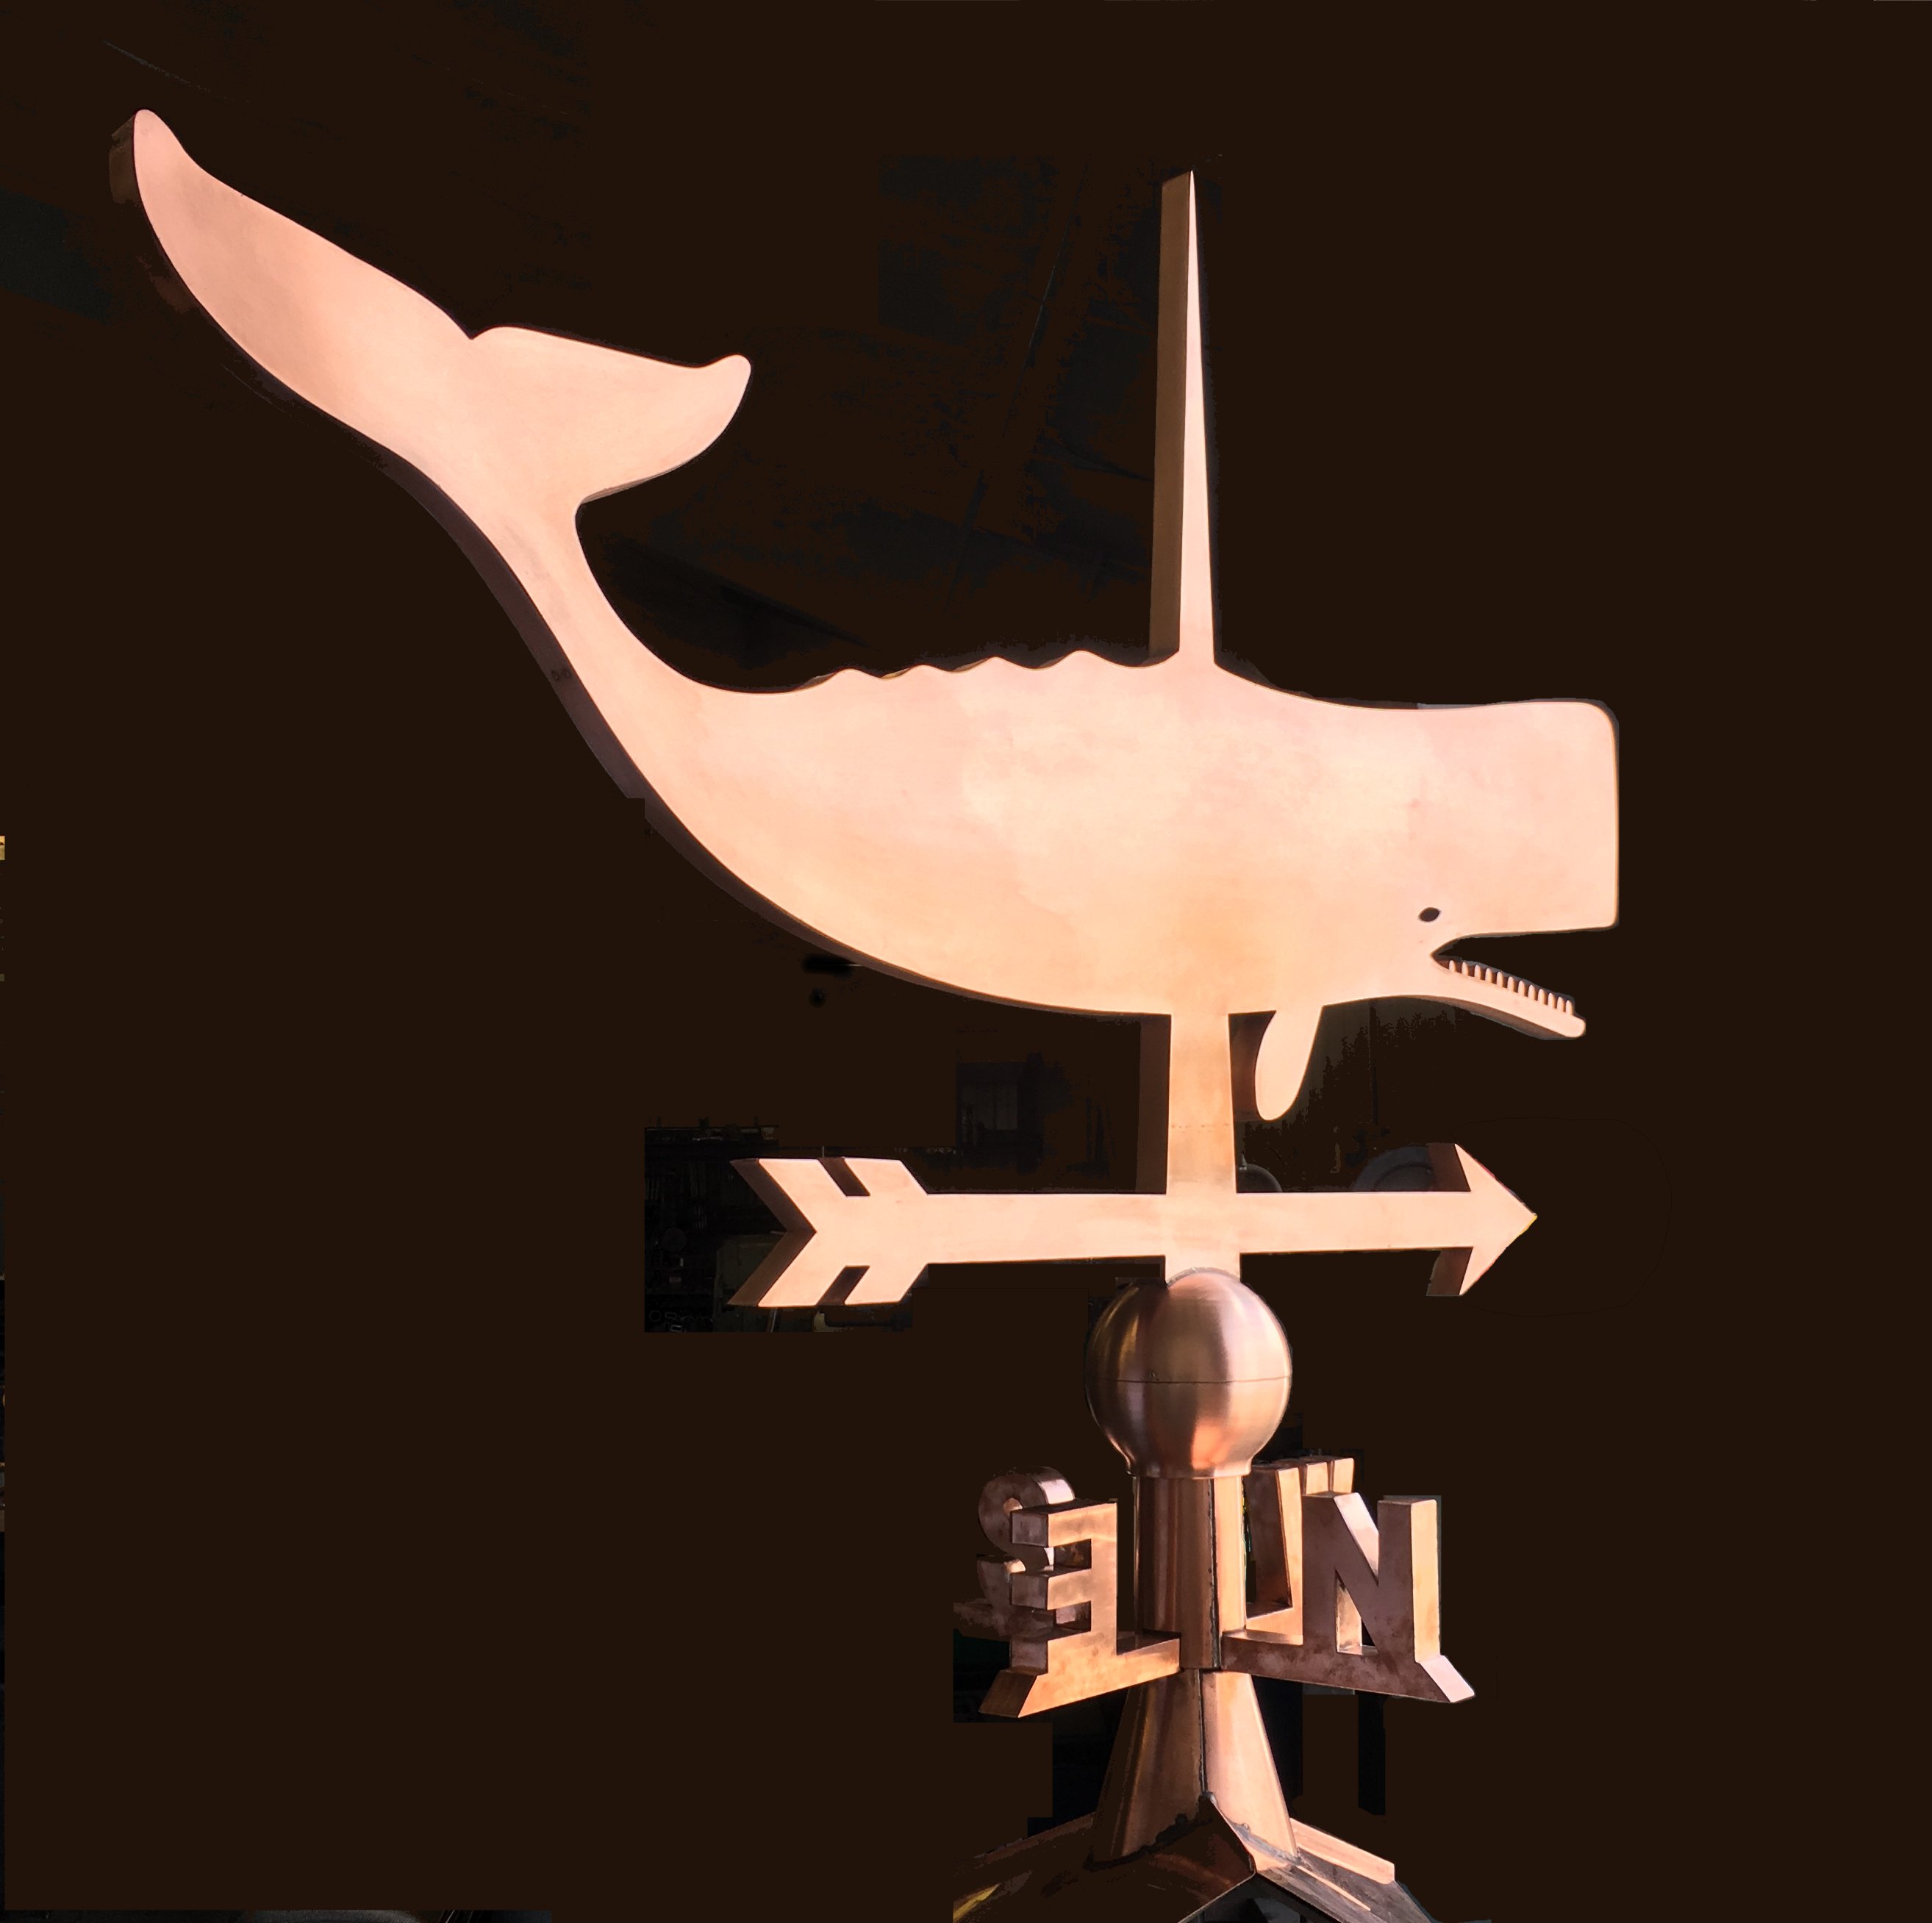
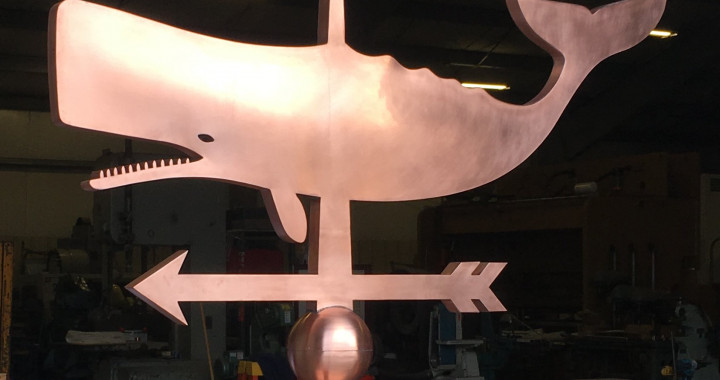
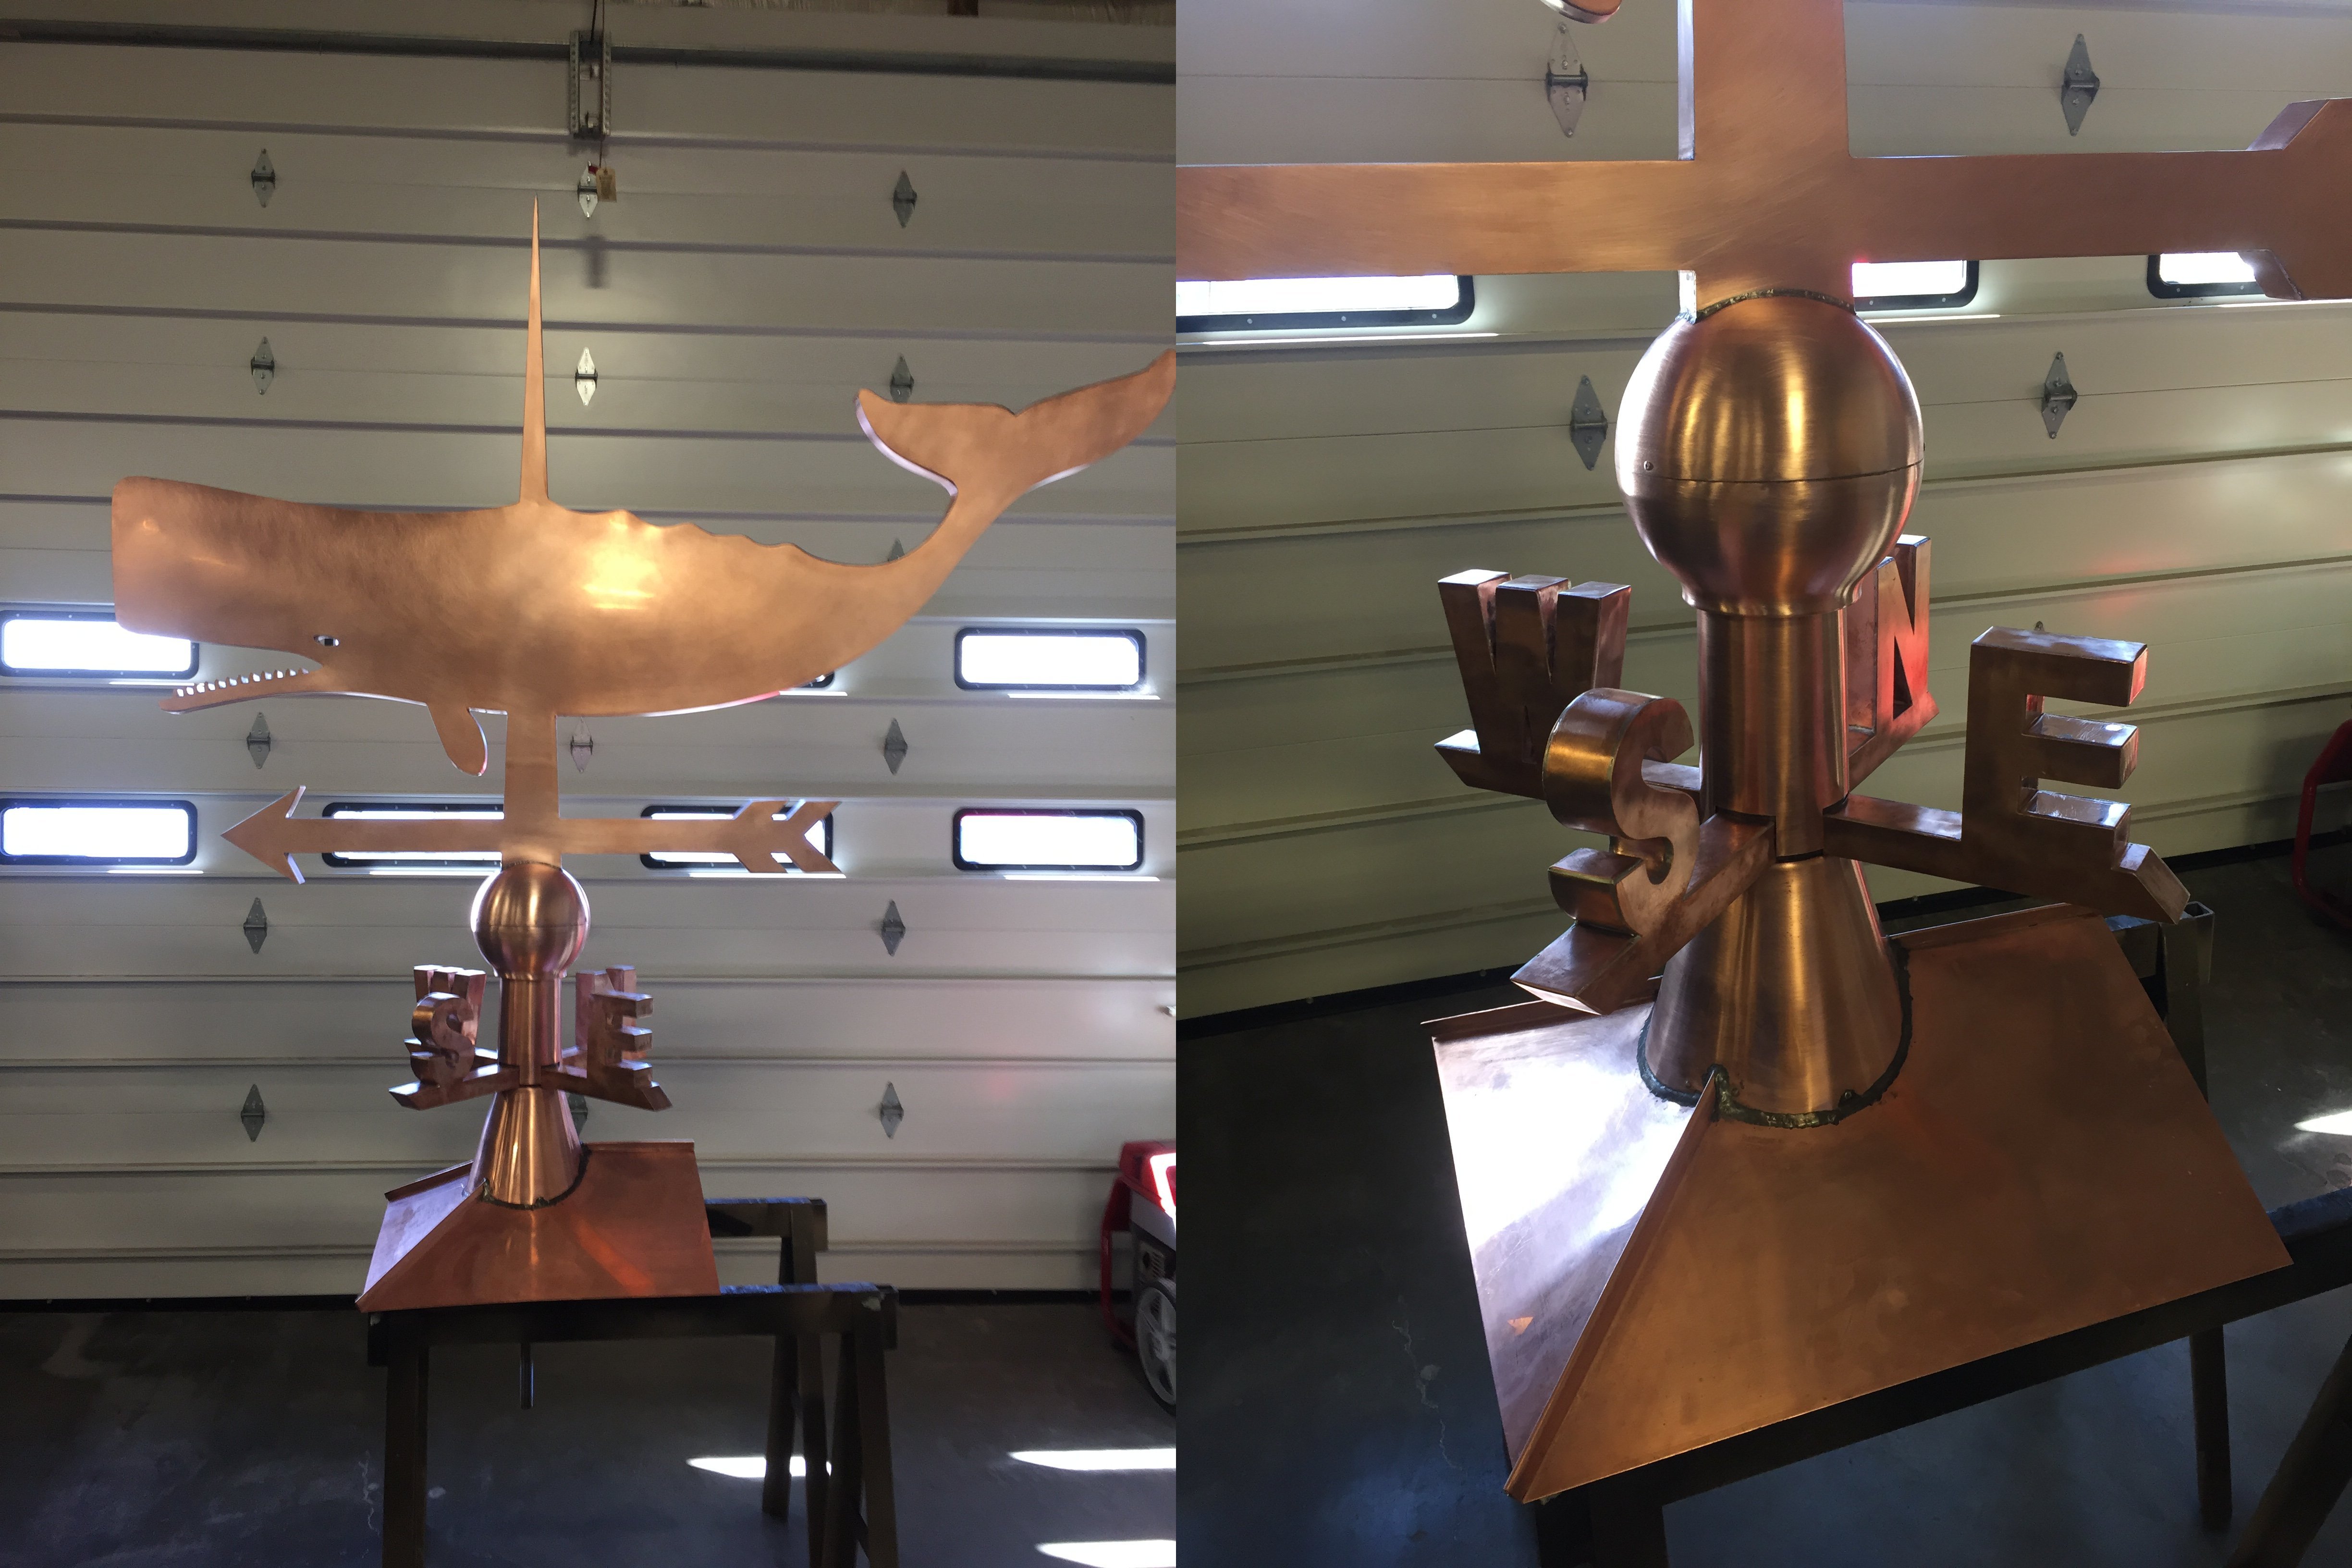
Copper “Whale” weathervane is approximately 7′ long by 2″ thick. Entire weathervane stands 7′ tallC
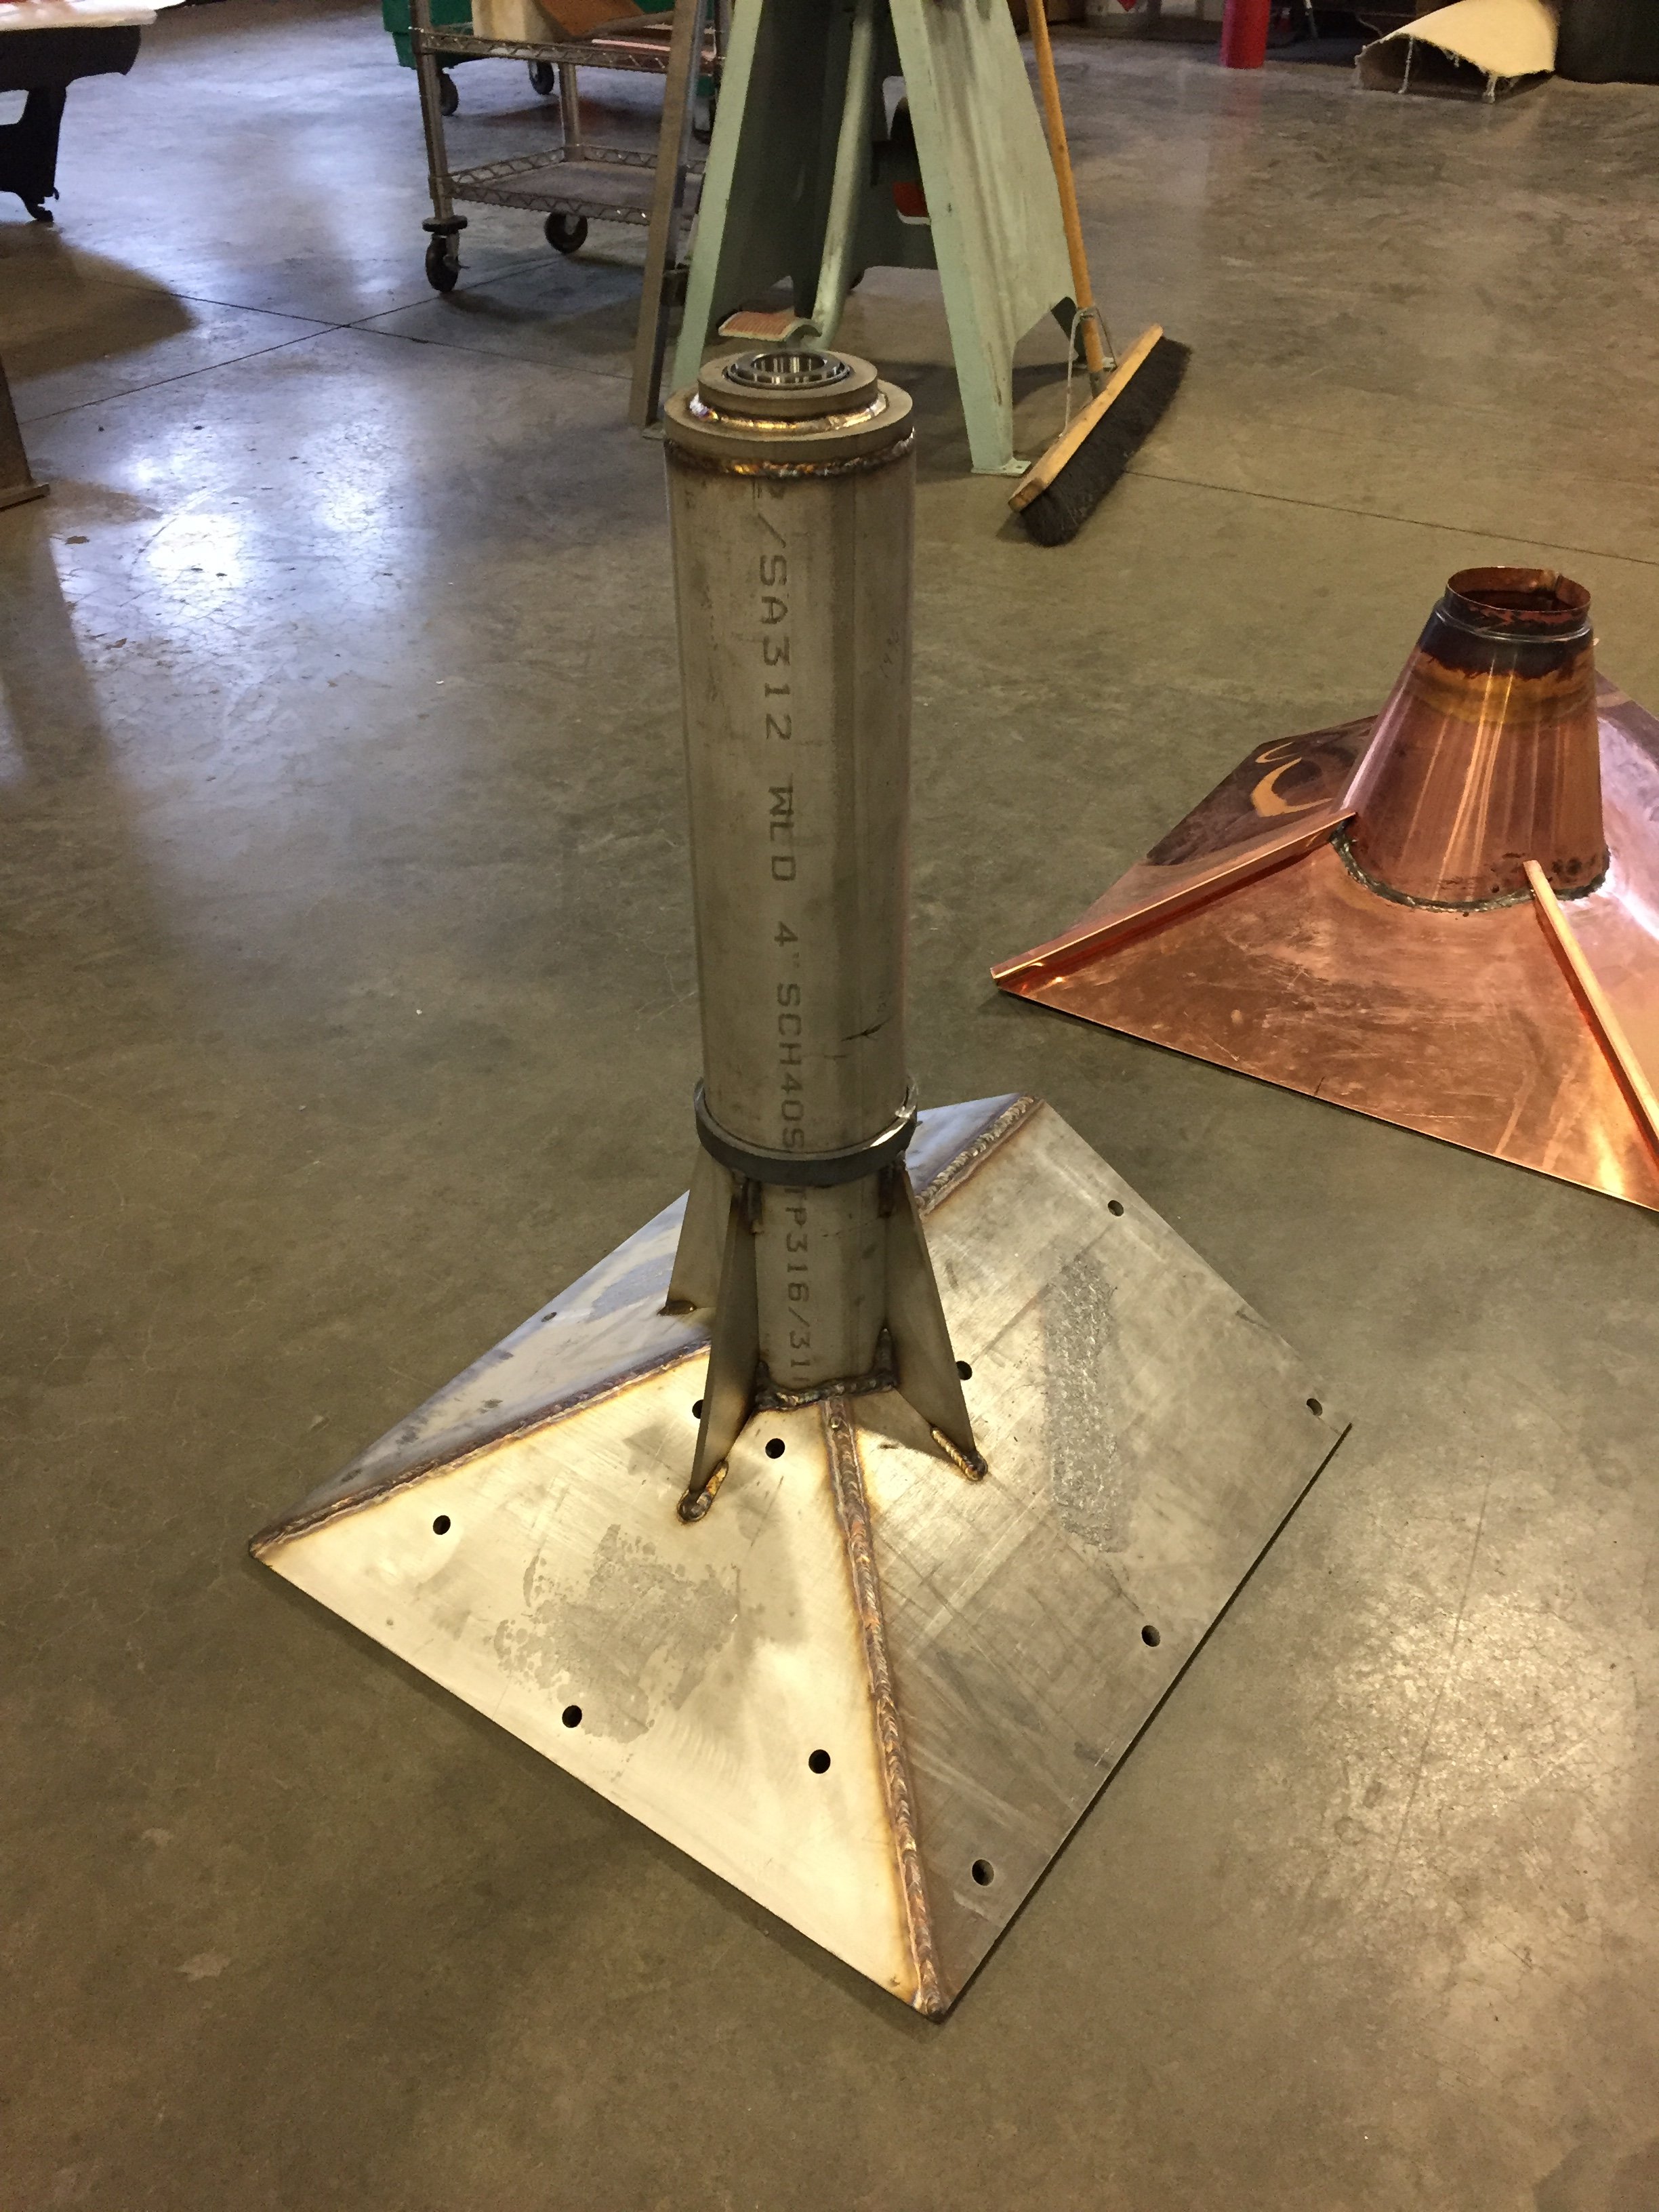
The base mount is fabricated entirely out of stainless steel tube and plate
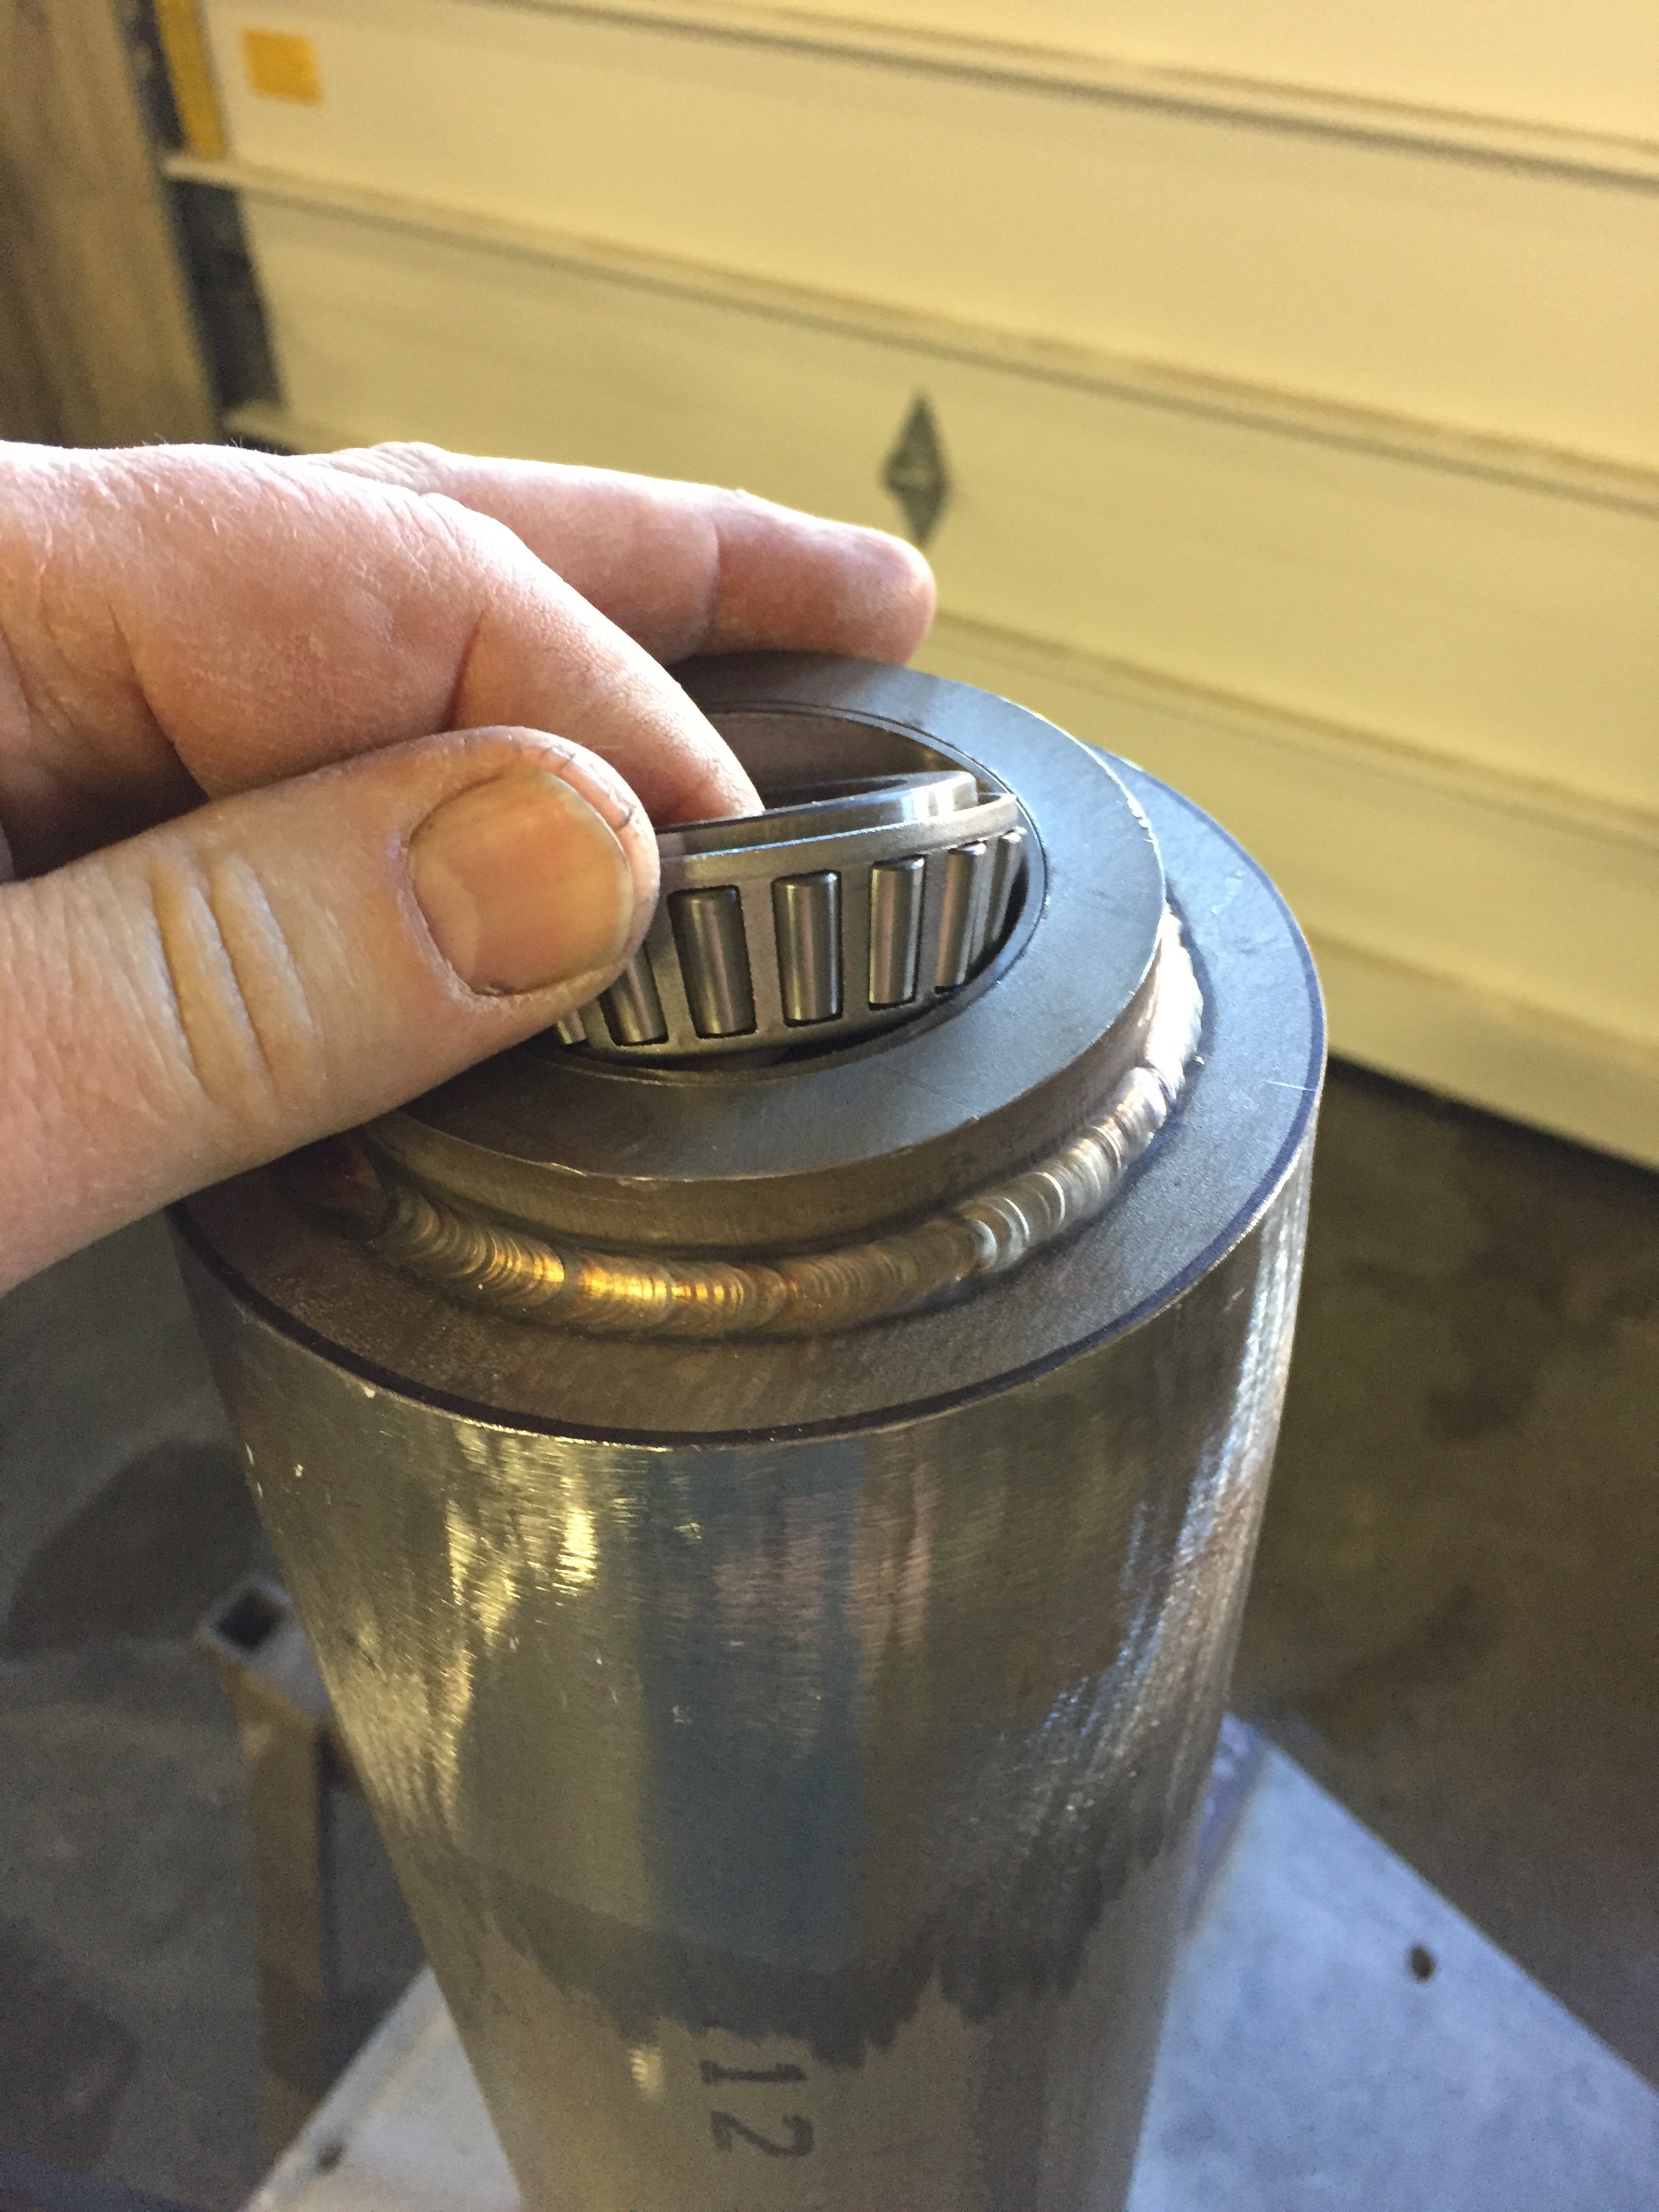
The base includes tapered roller bearings and sleeve bearings below
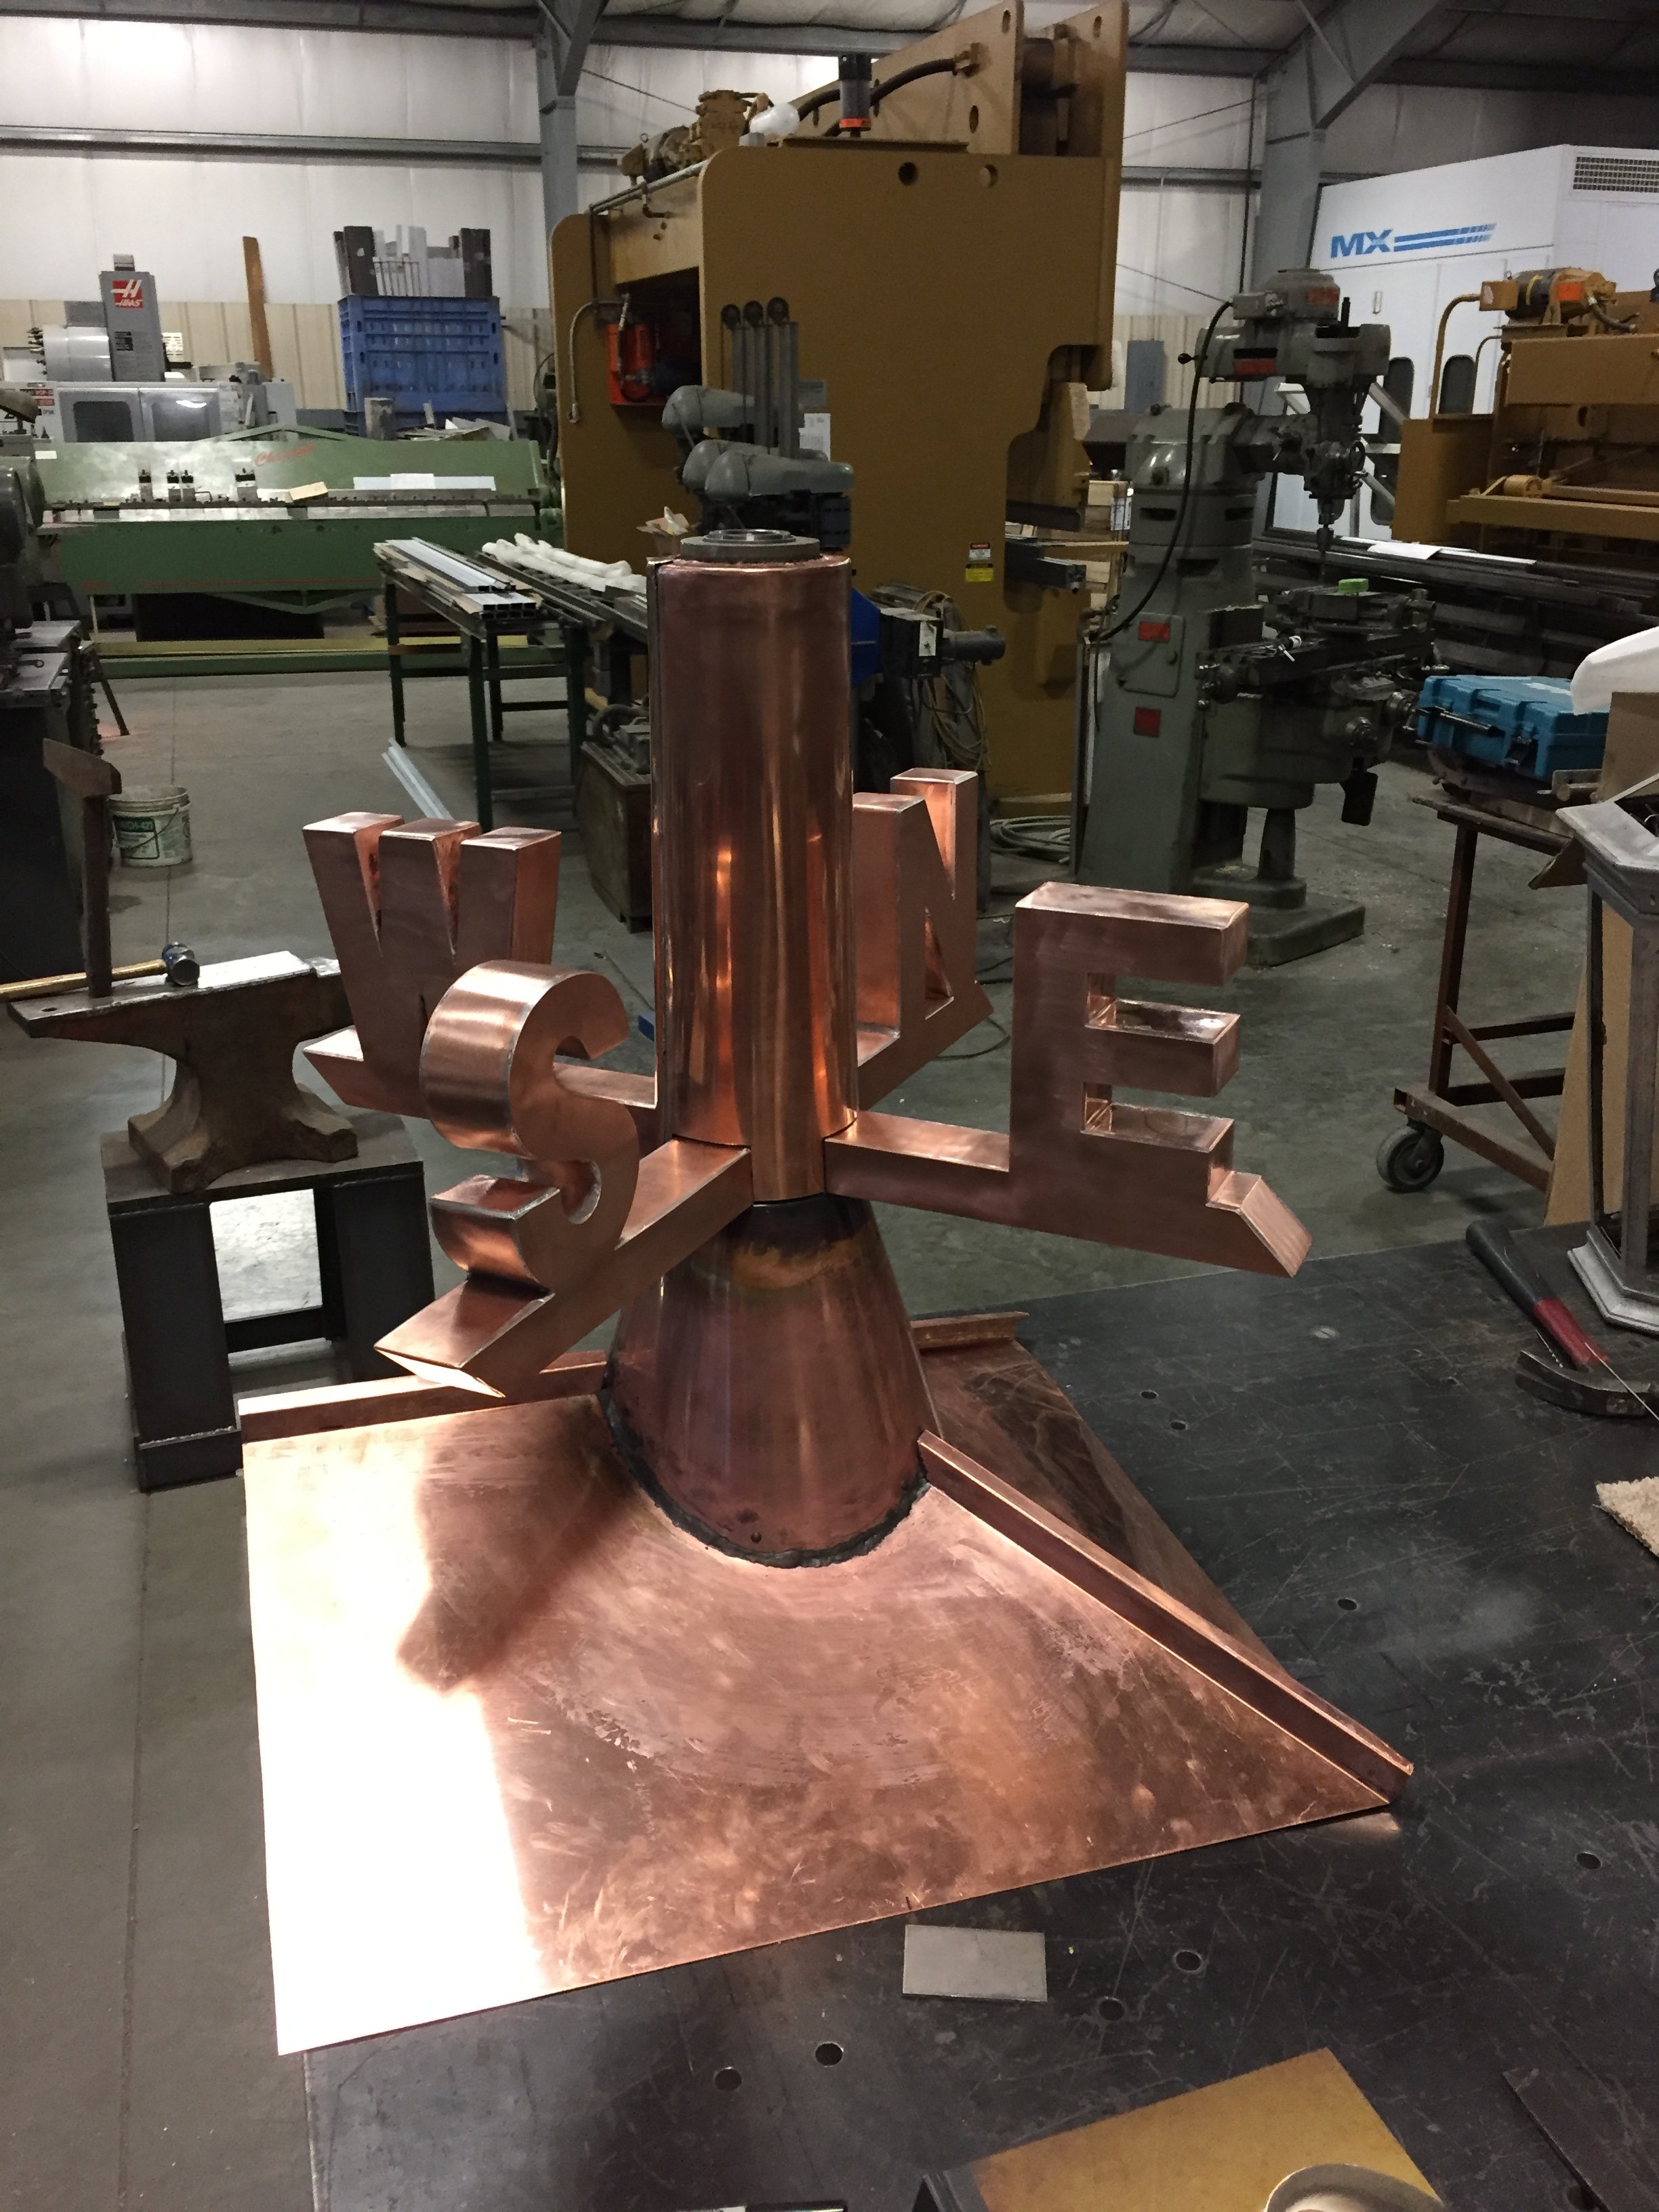
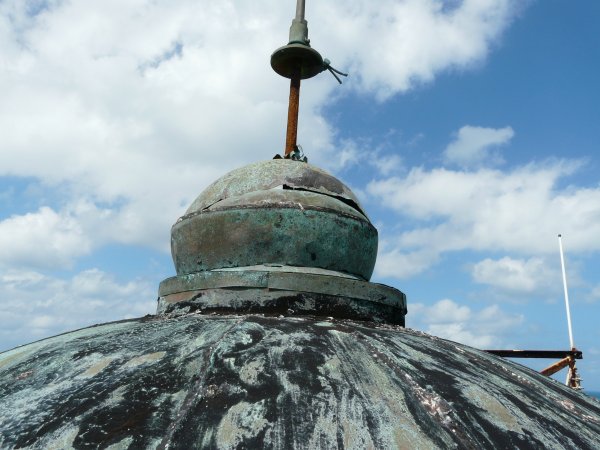
The base is covered with a 32oz copper shroud and adjustable cardinal points
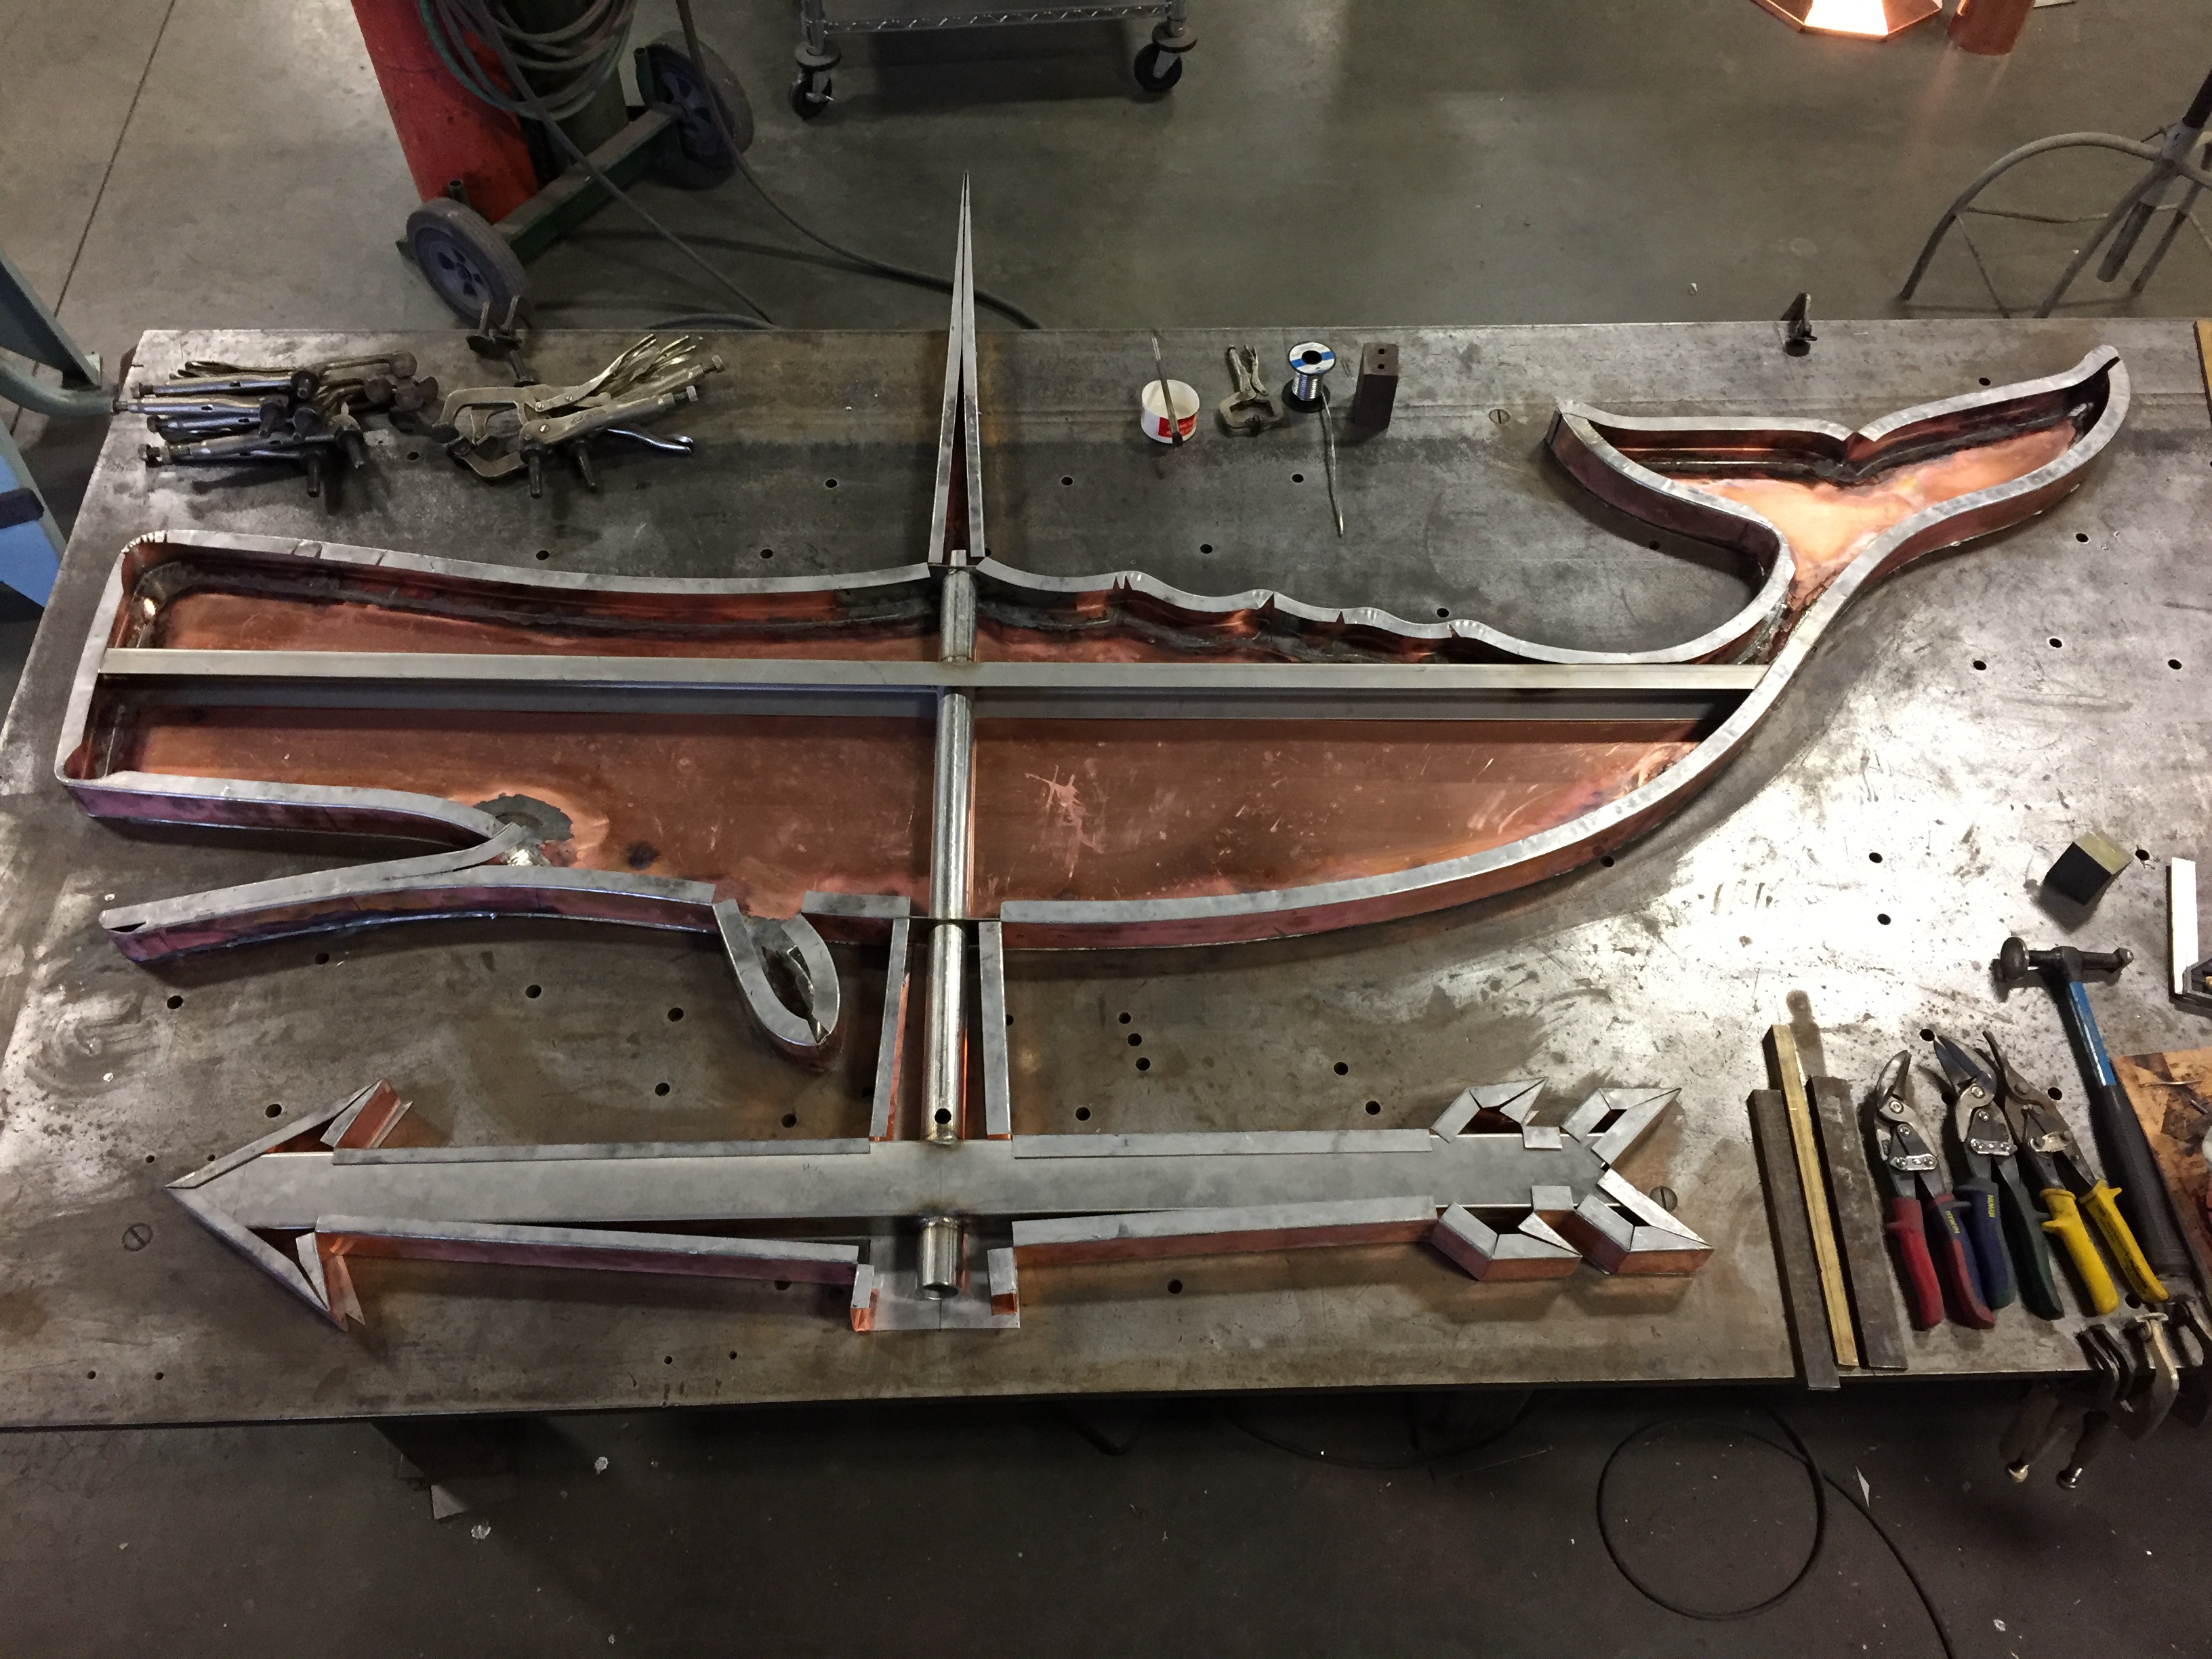
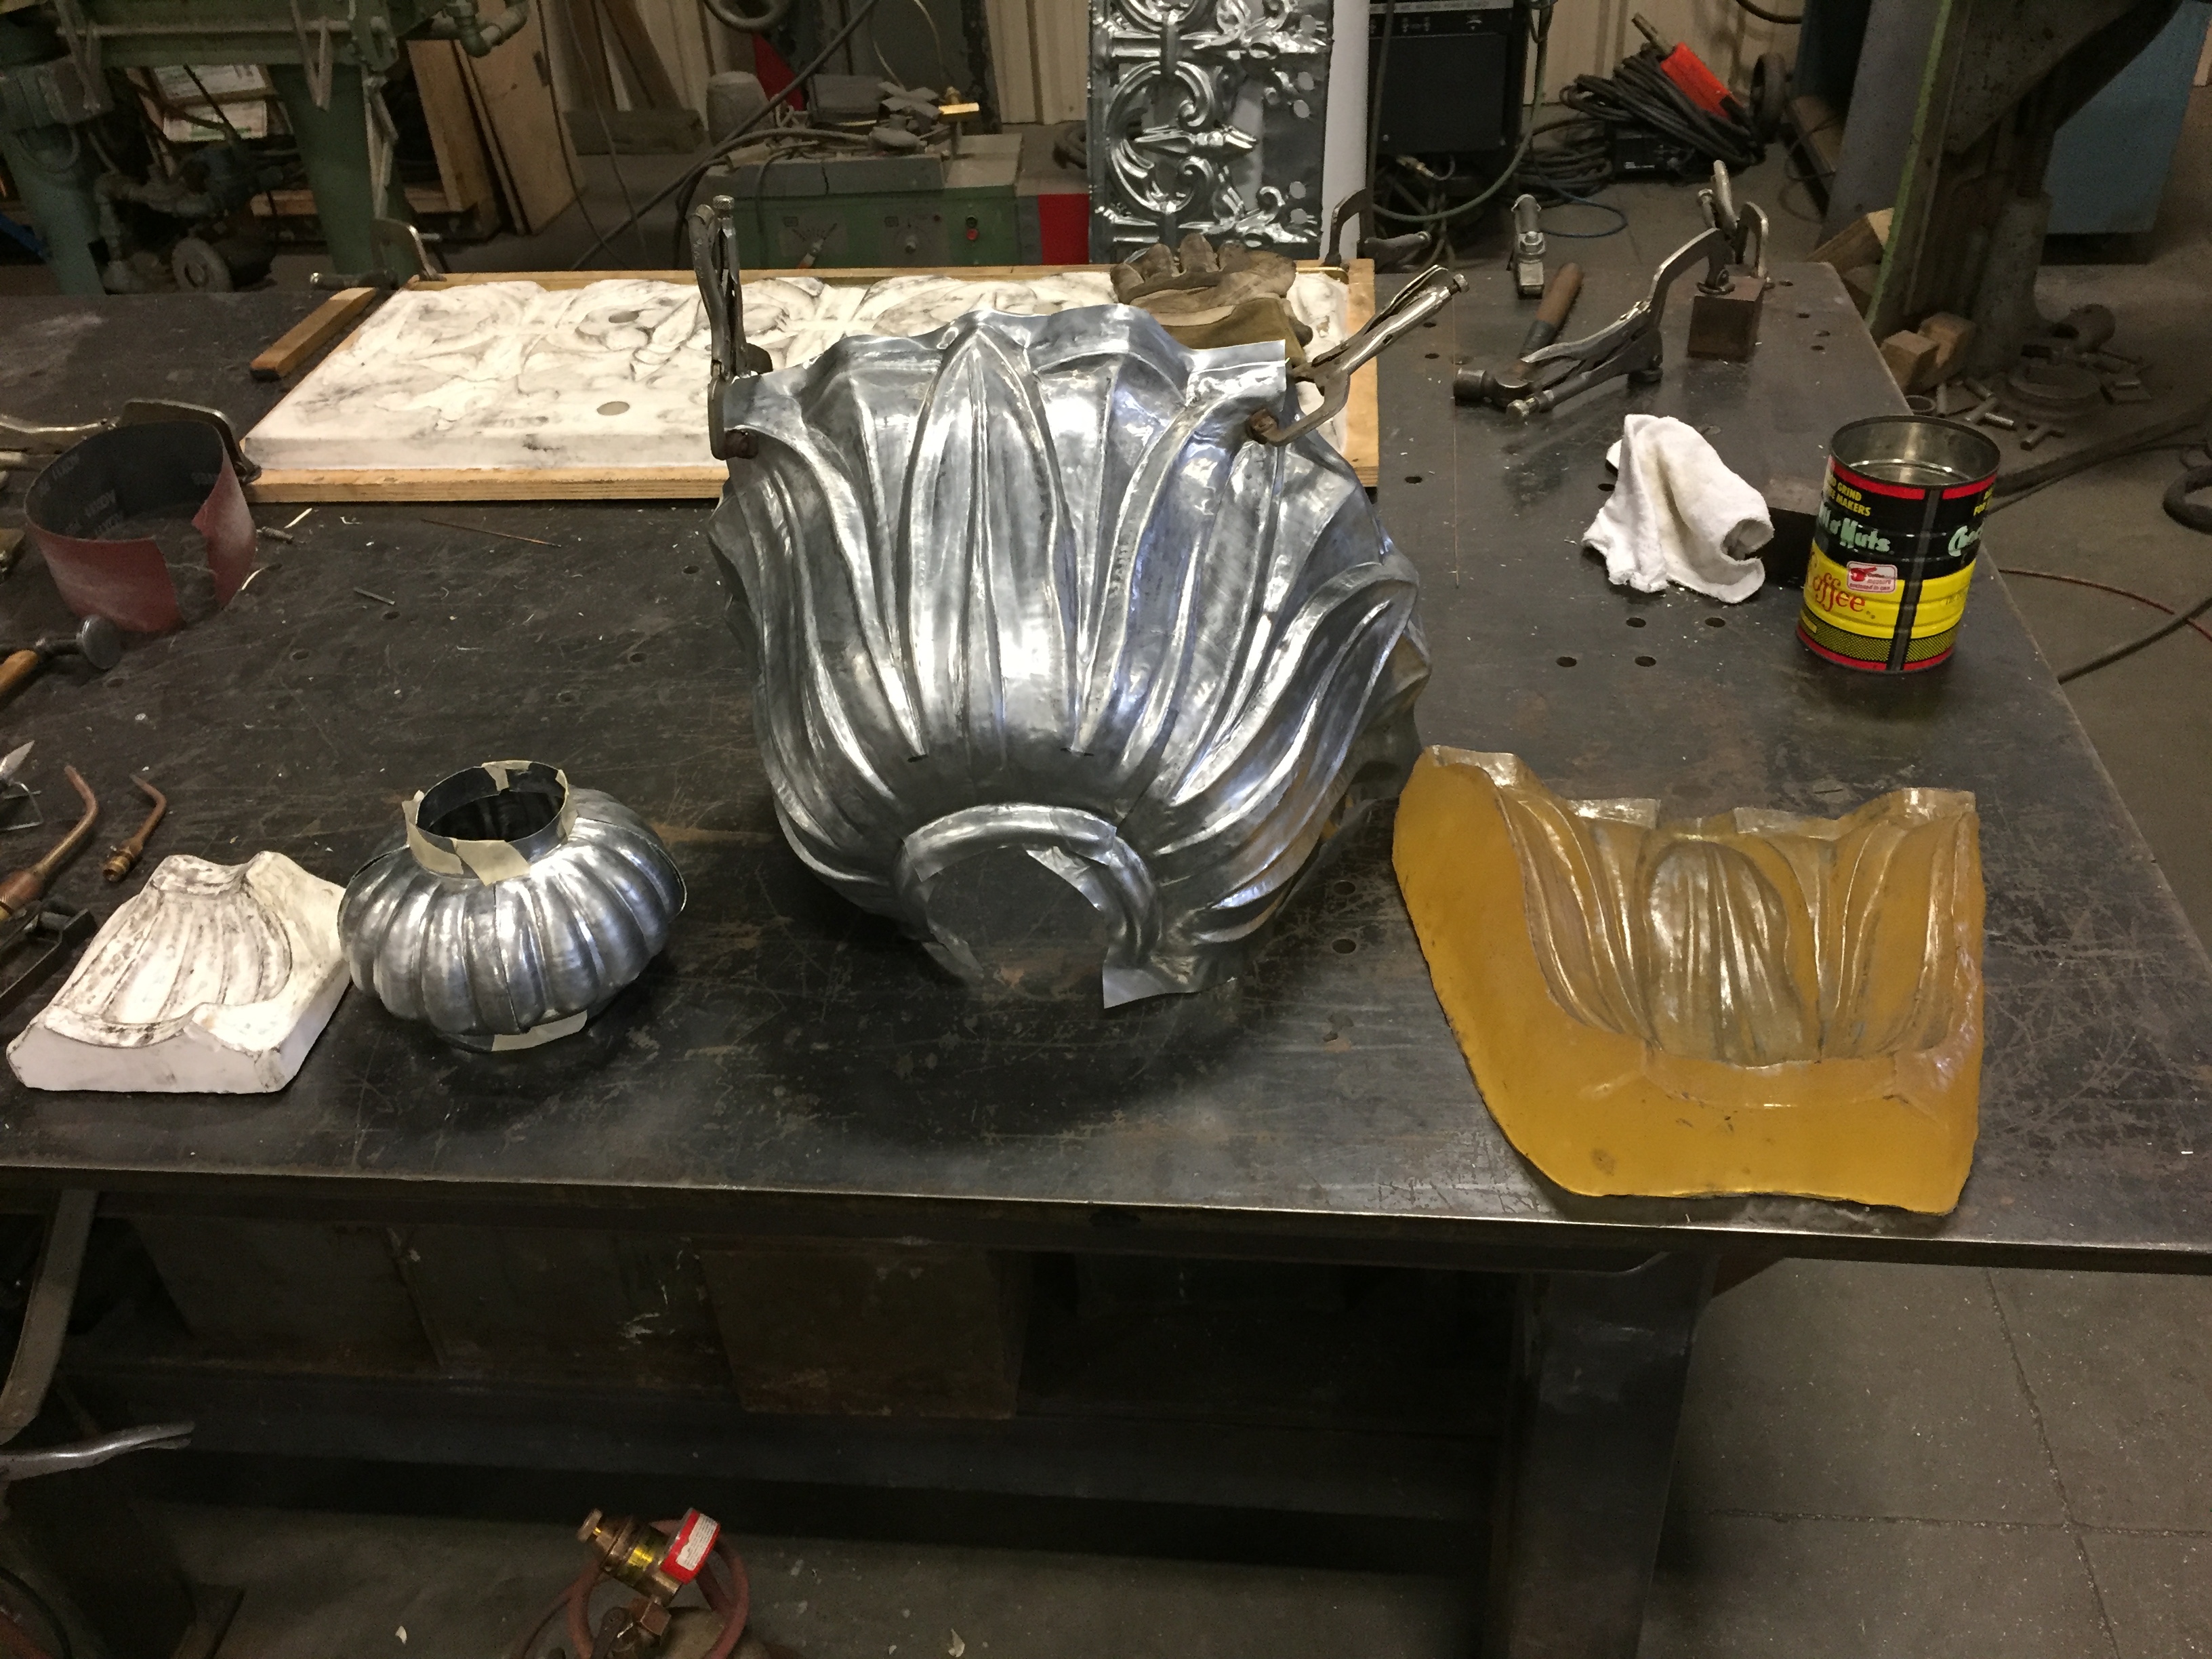
The structure of the whale consists of a 32oz copper channel perimeter frame fastened to stainless steel supports

This solid stainless steel shaft is welded into the pipe on the previous photo and the whole unit slides down through the base bearings and through the roof
You can see the threaded shaft sticking through the bottom under the saw horses
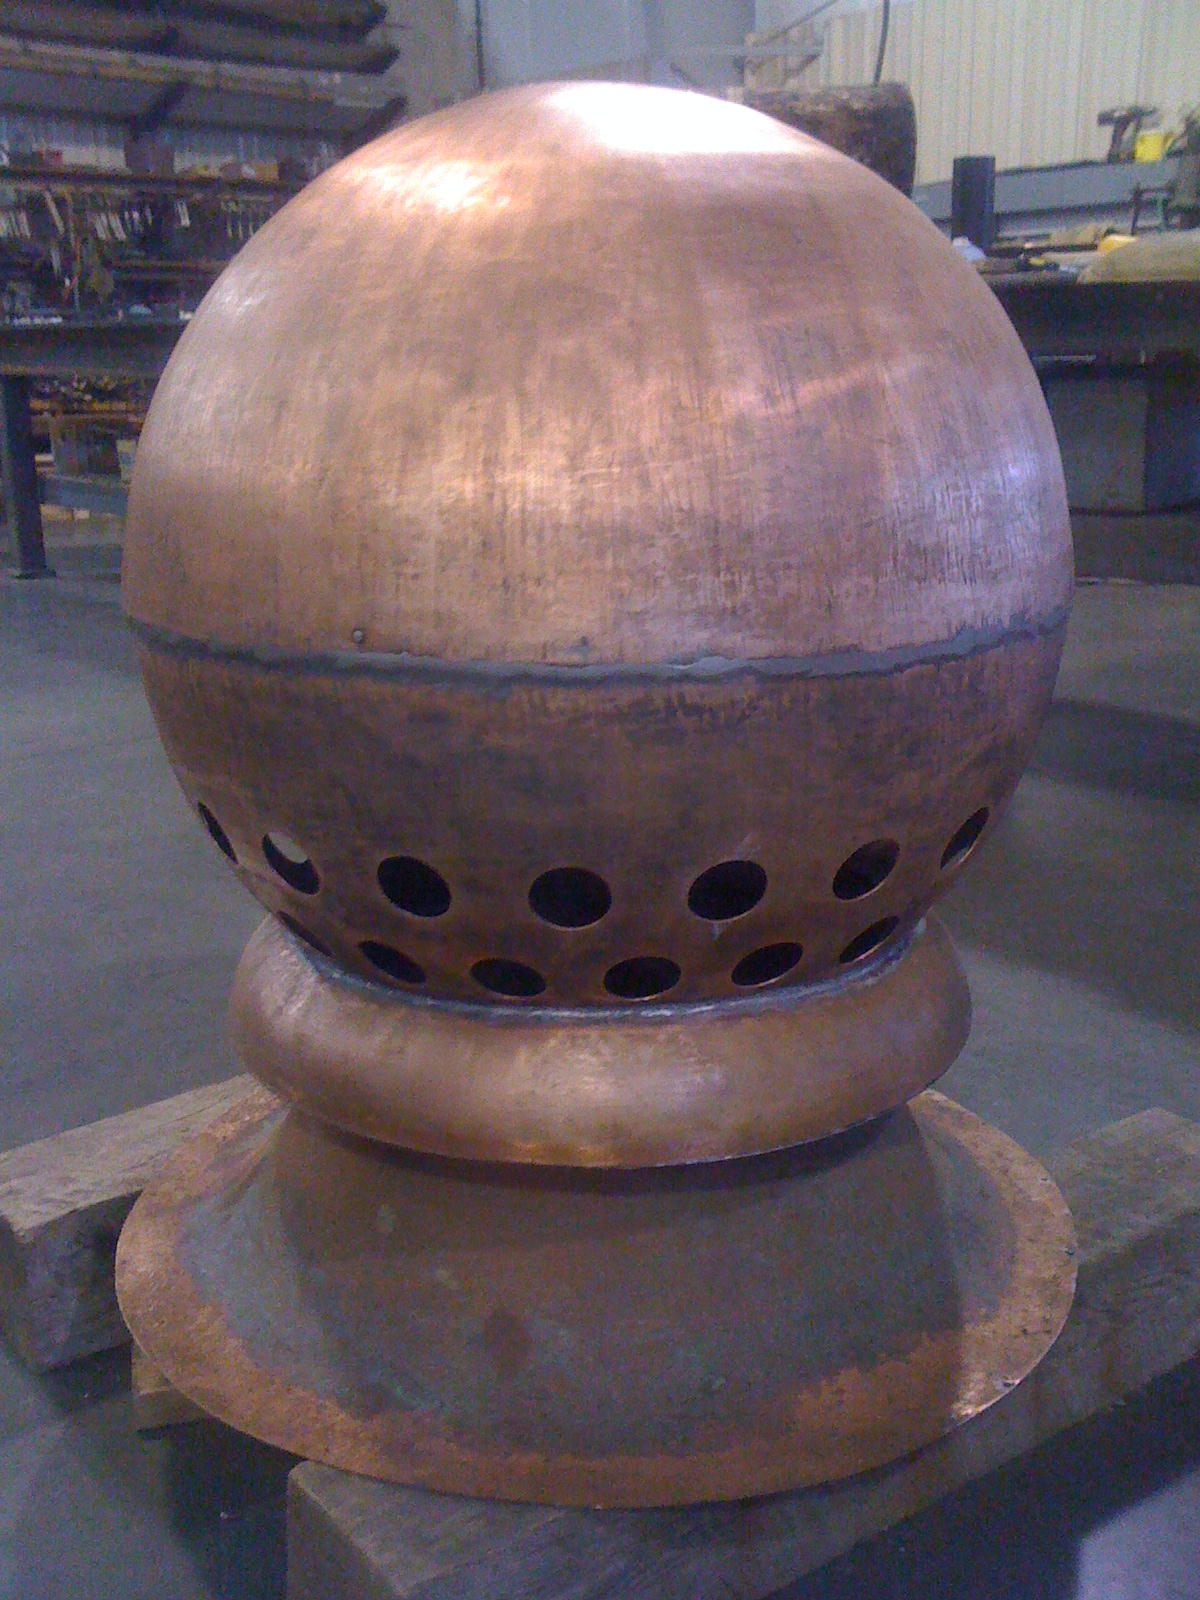
The upper bearing gets covered with a hand spun 32oz copper sphere which is soldered to and rotates with the upper portion
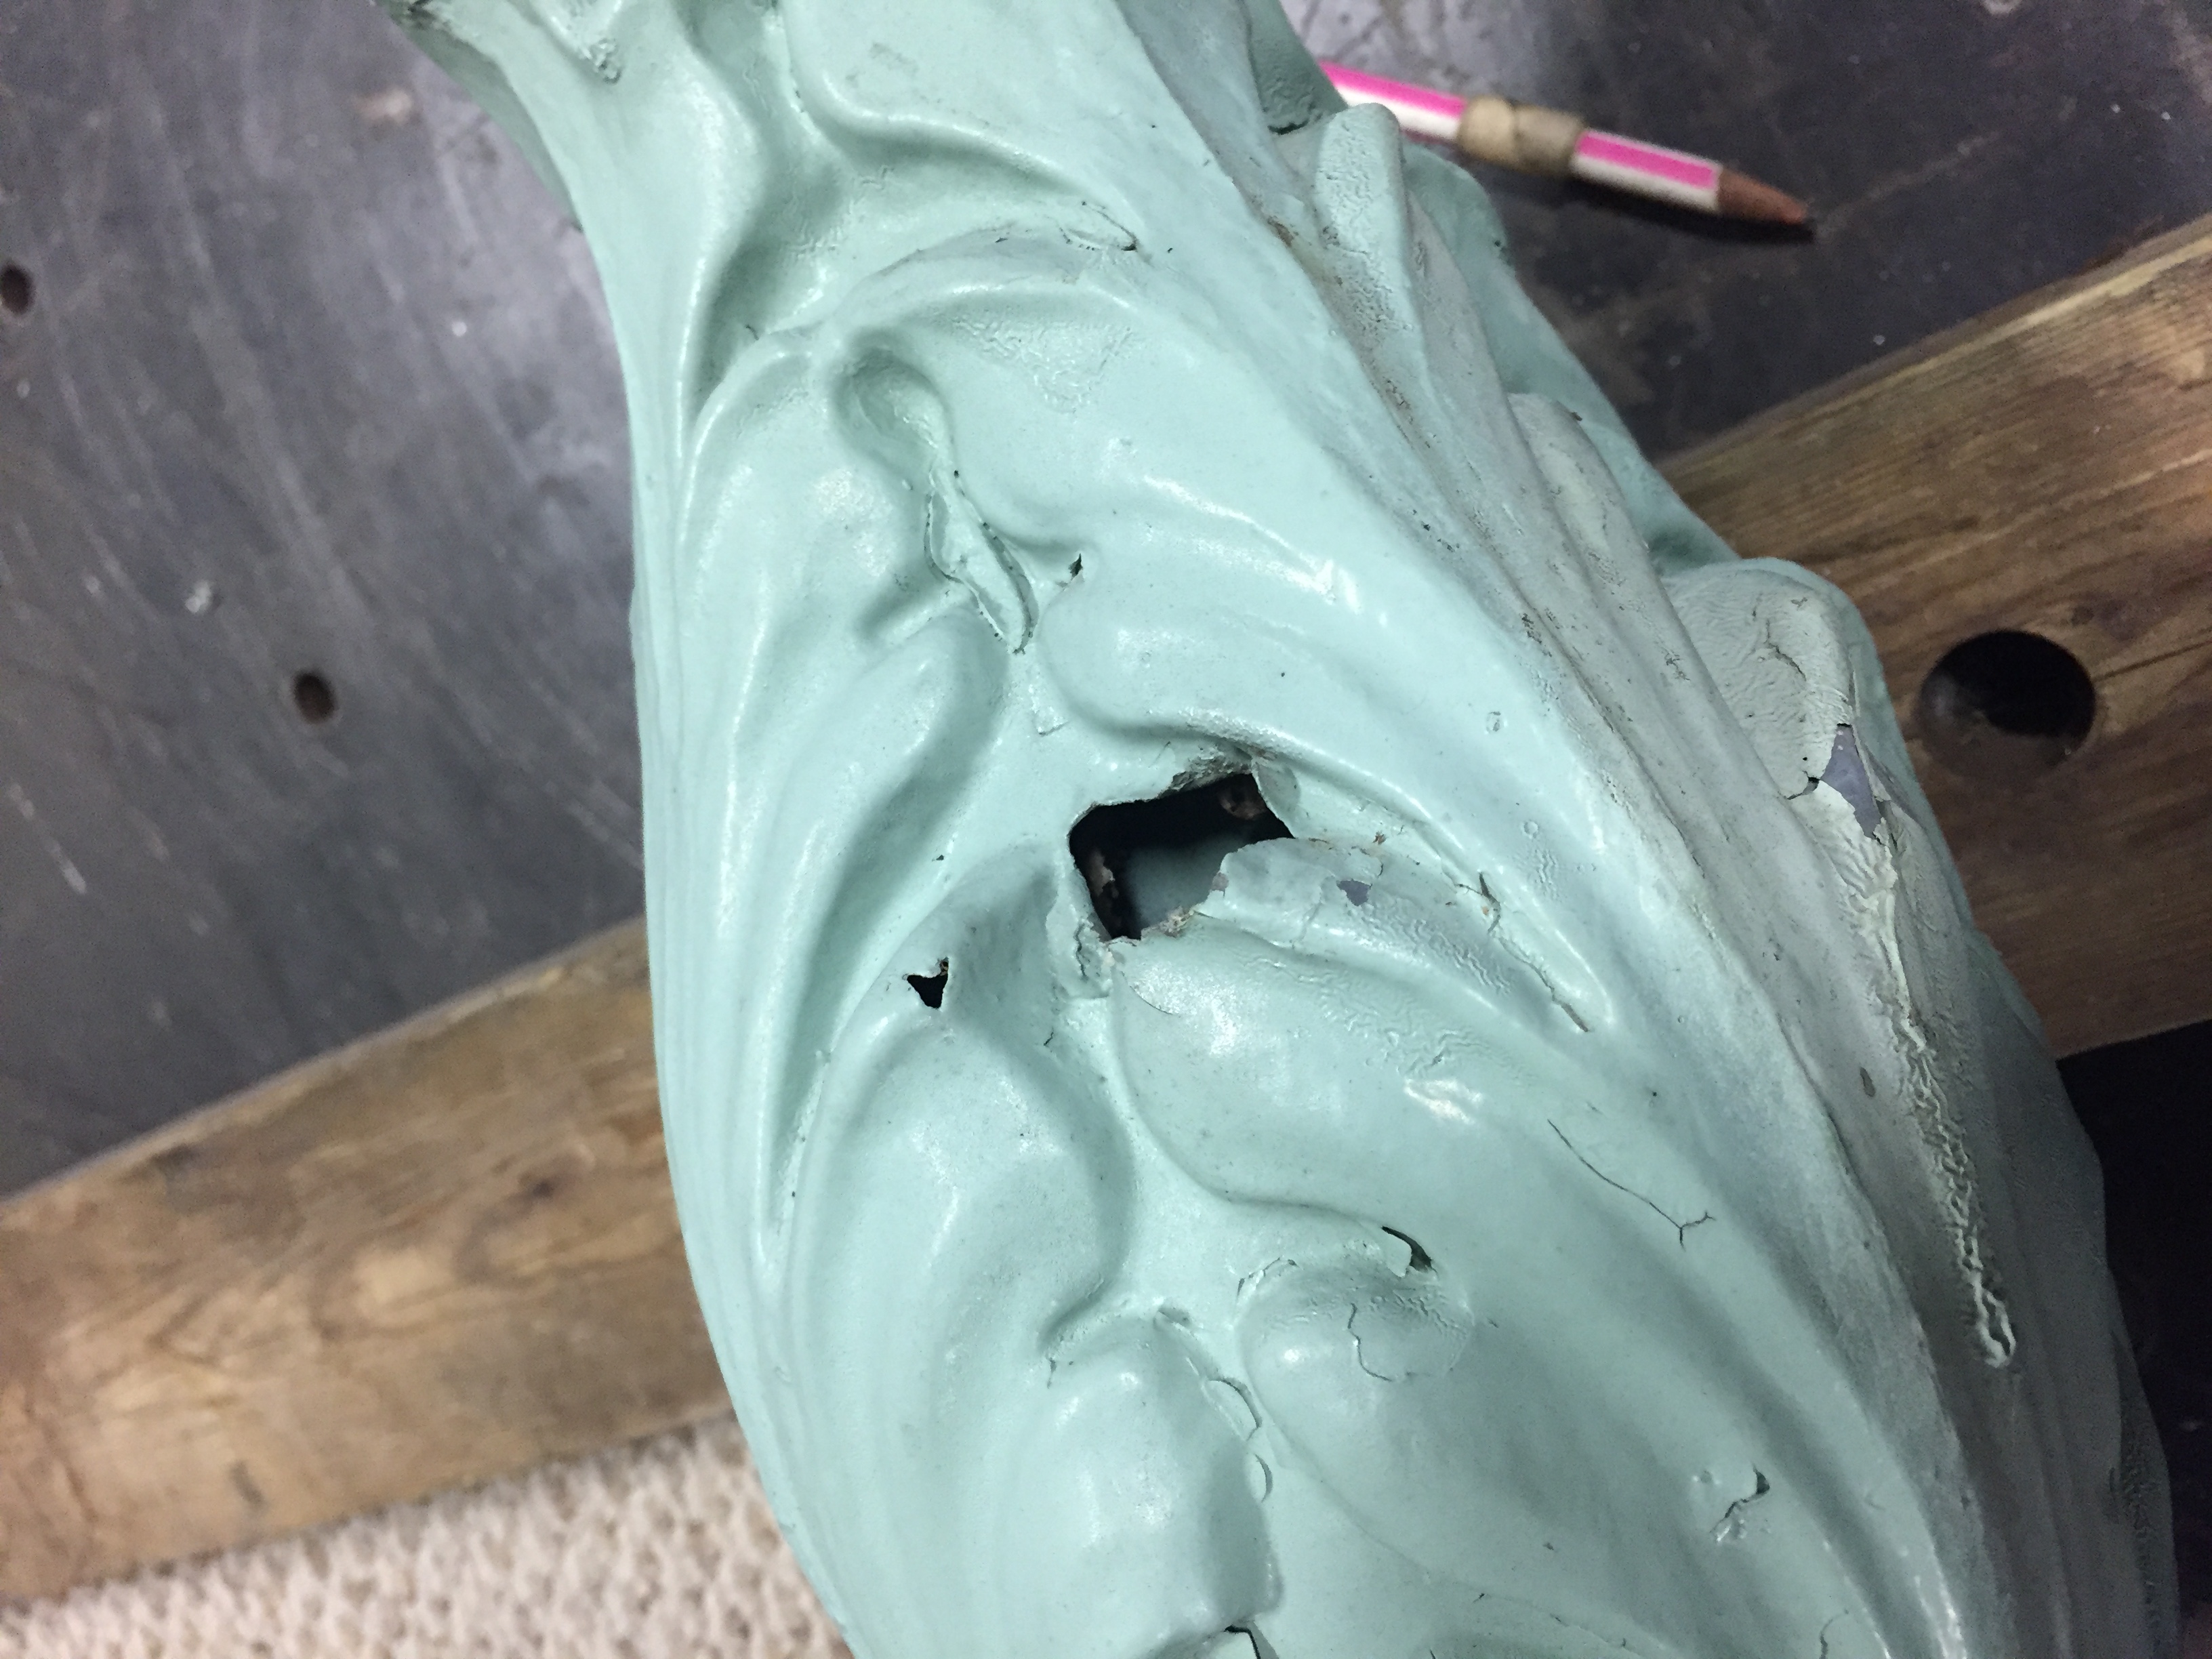
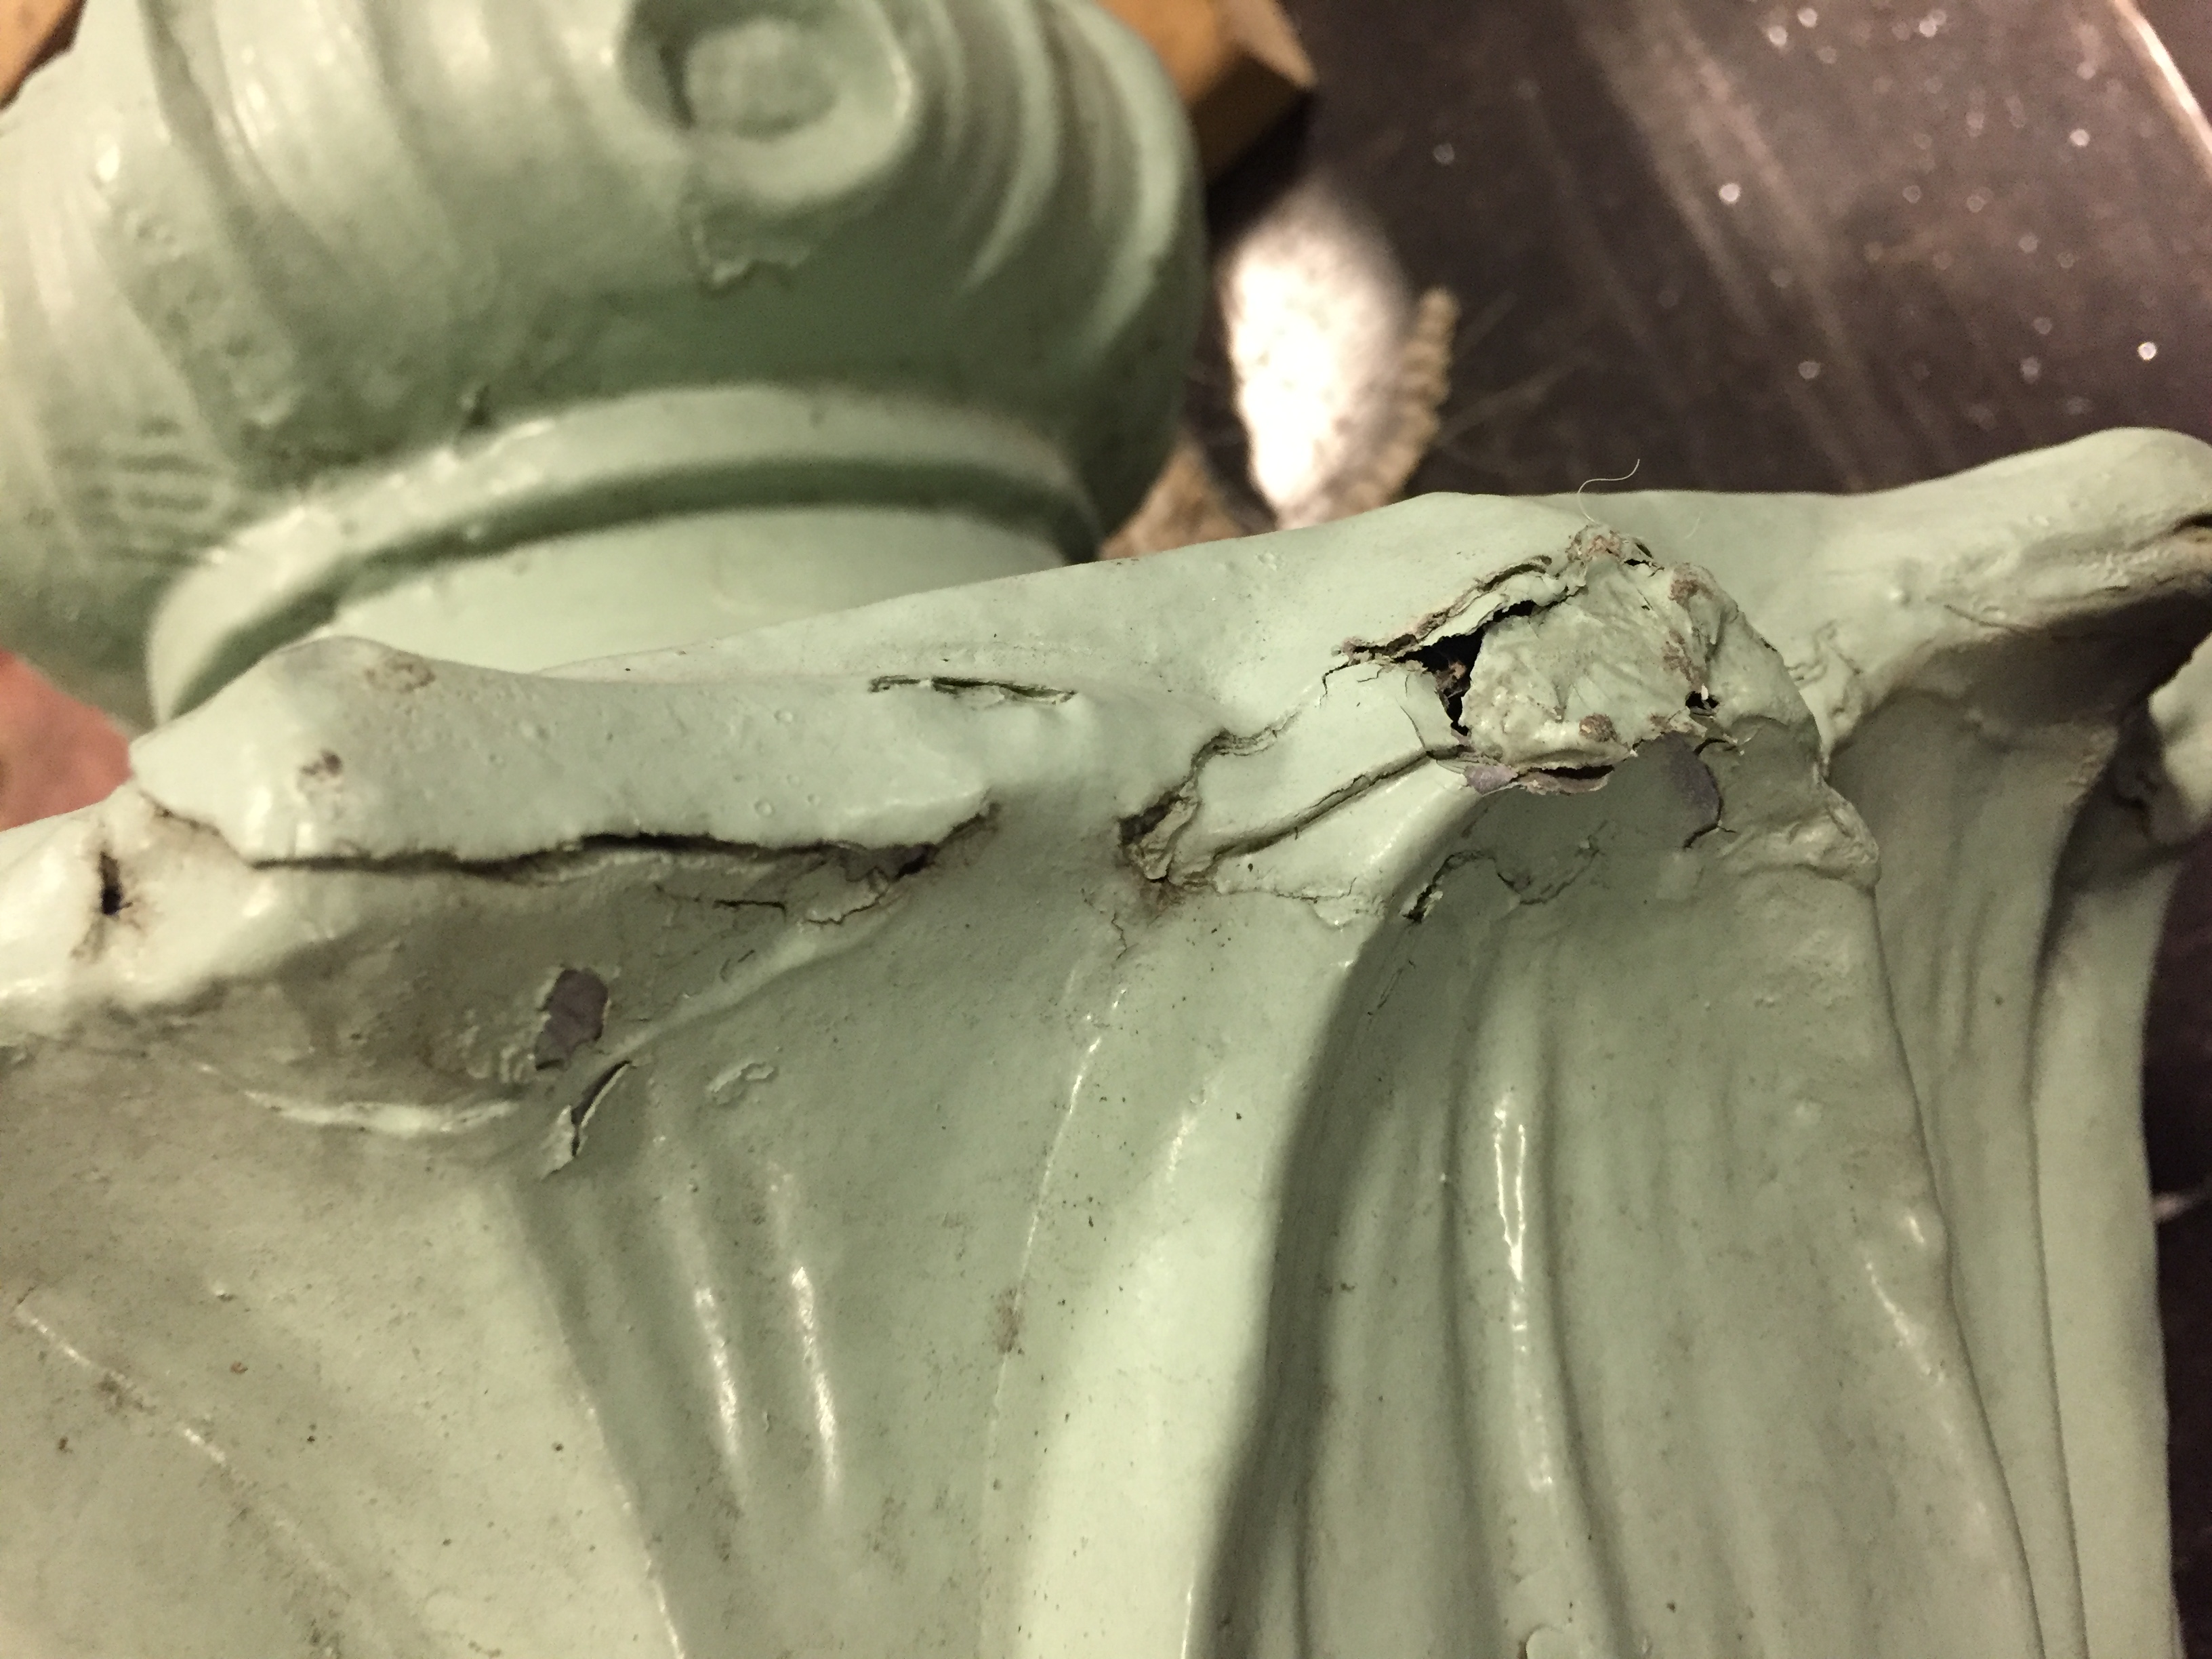
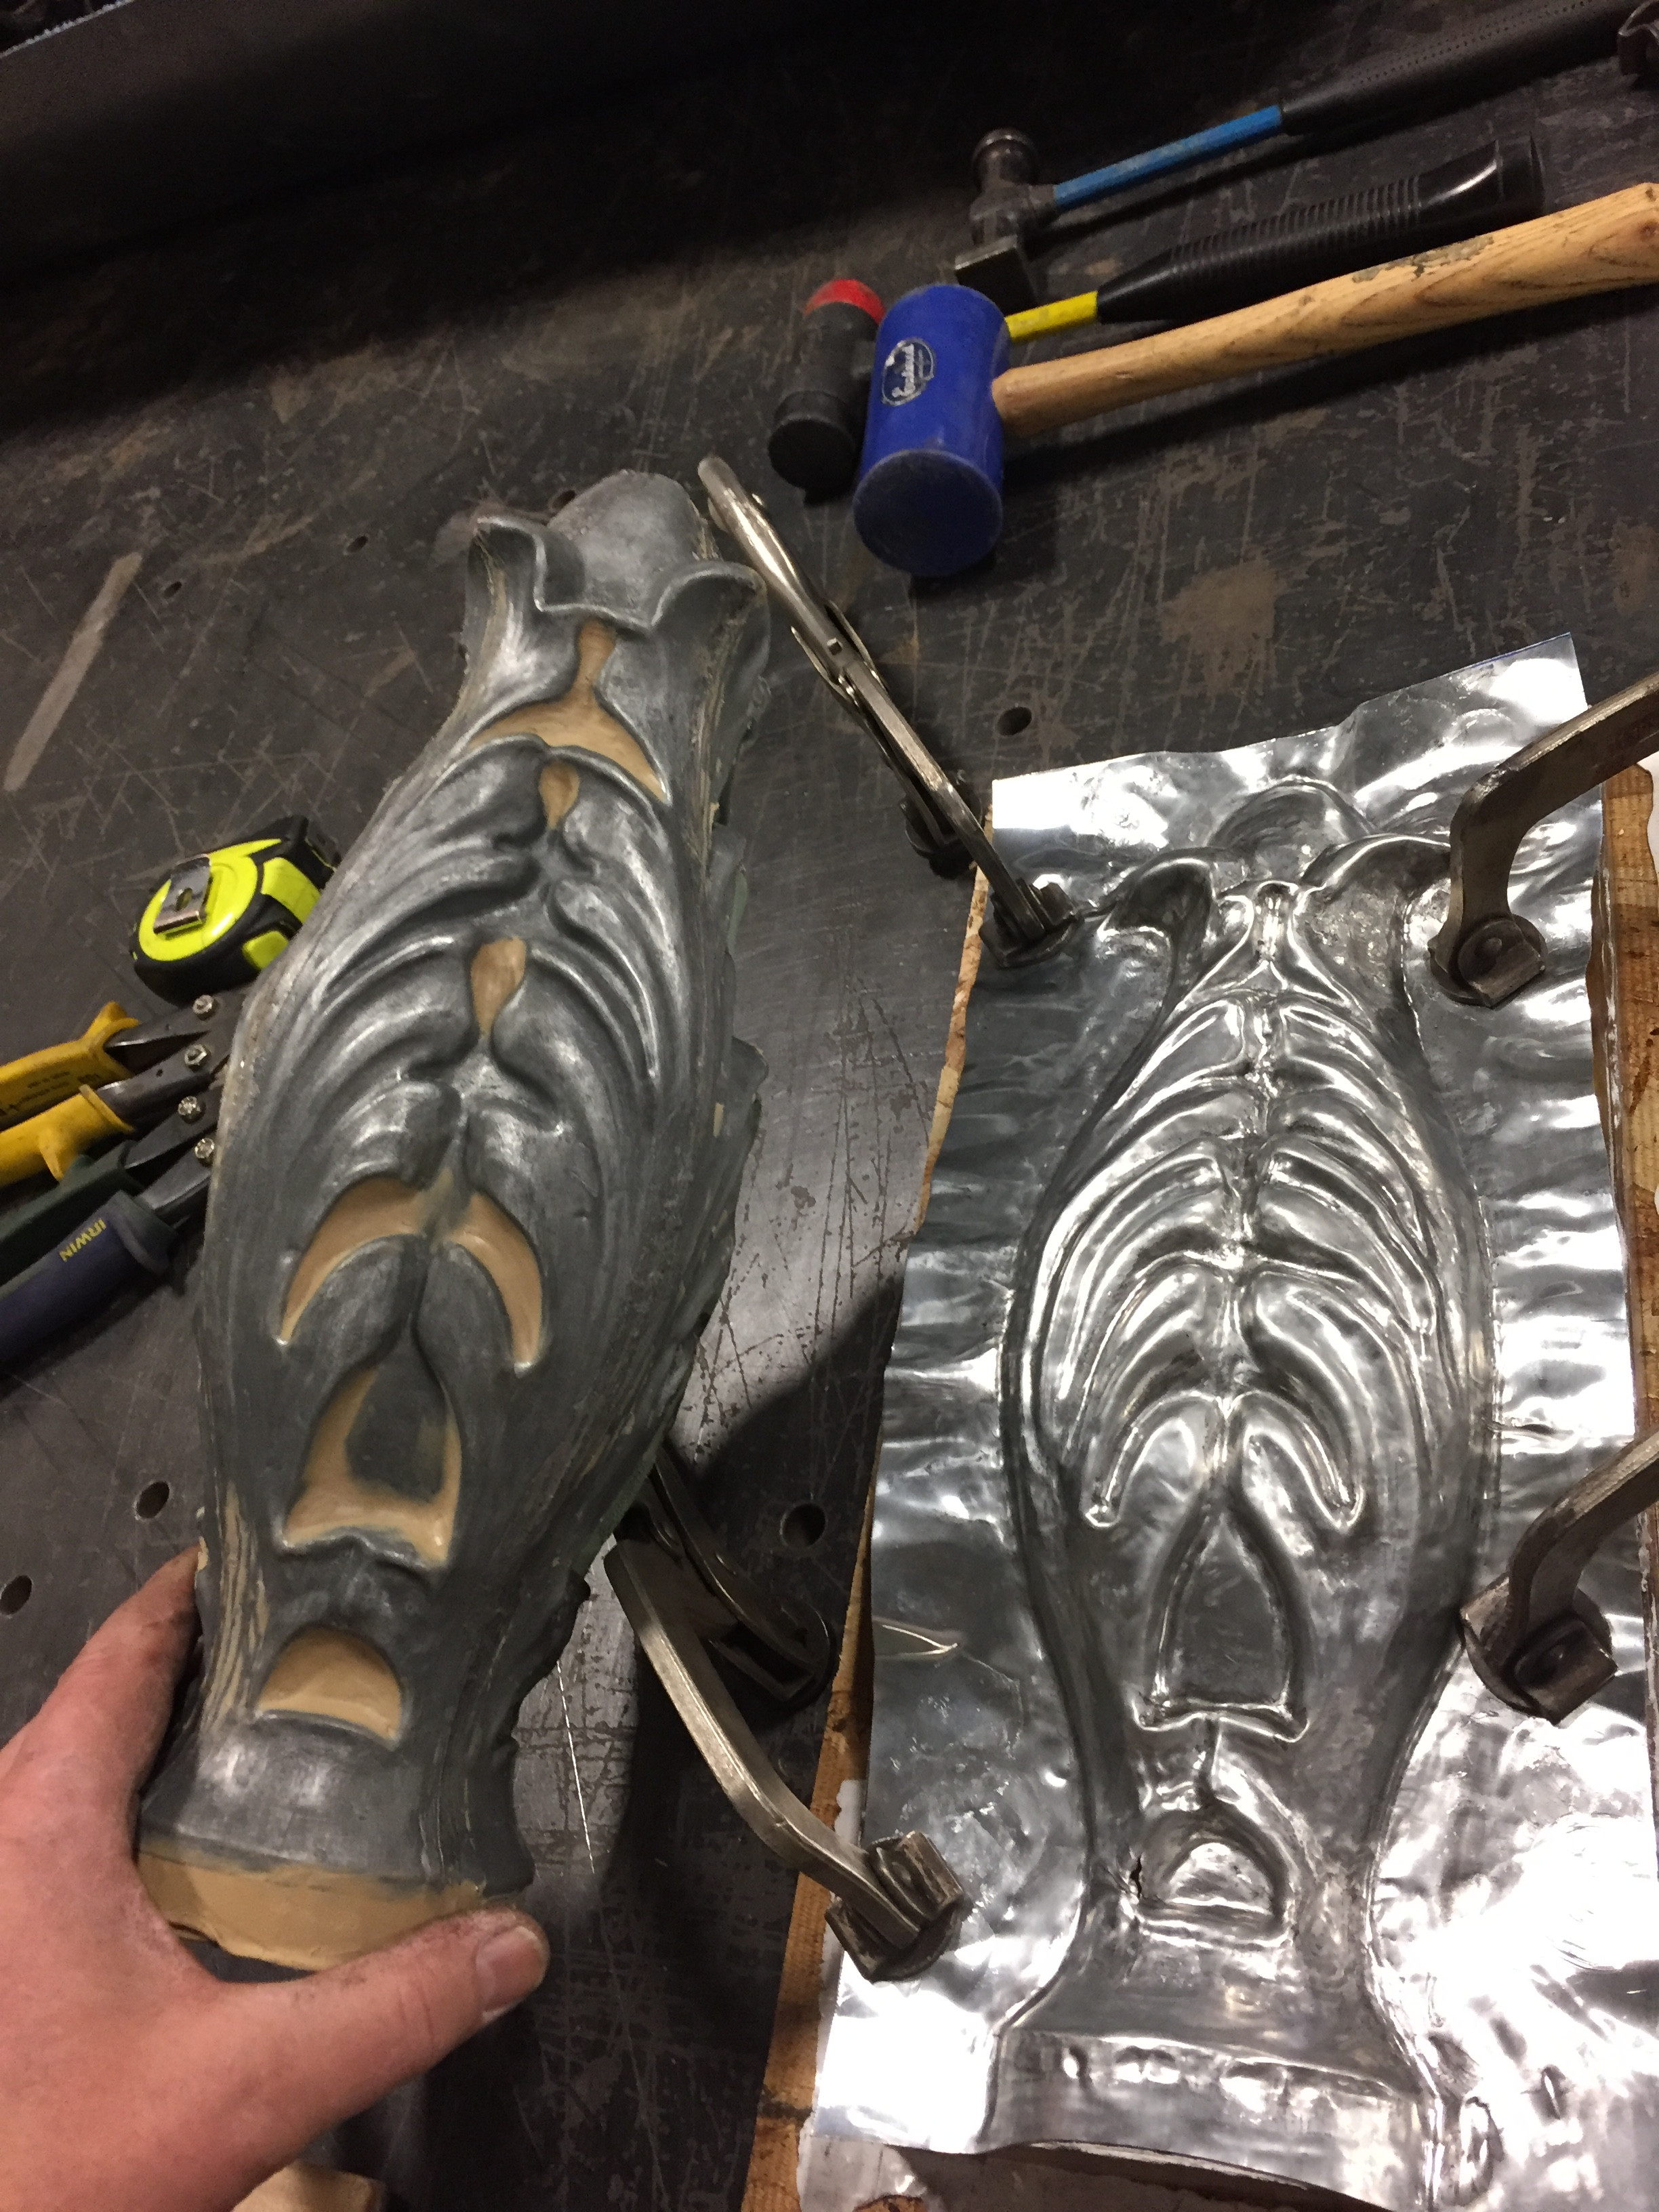
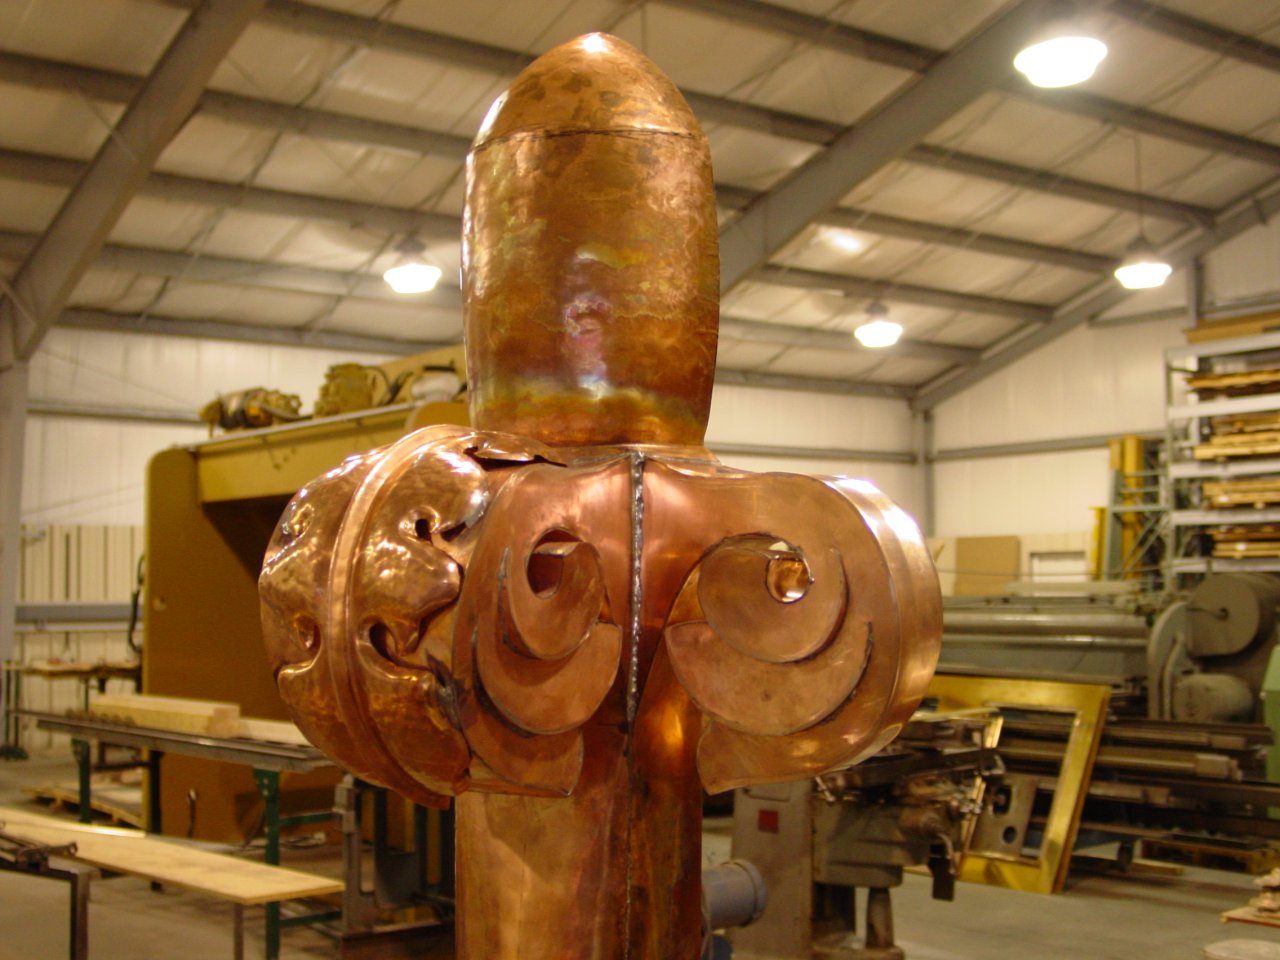
Now on to Willy’s dental work!
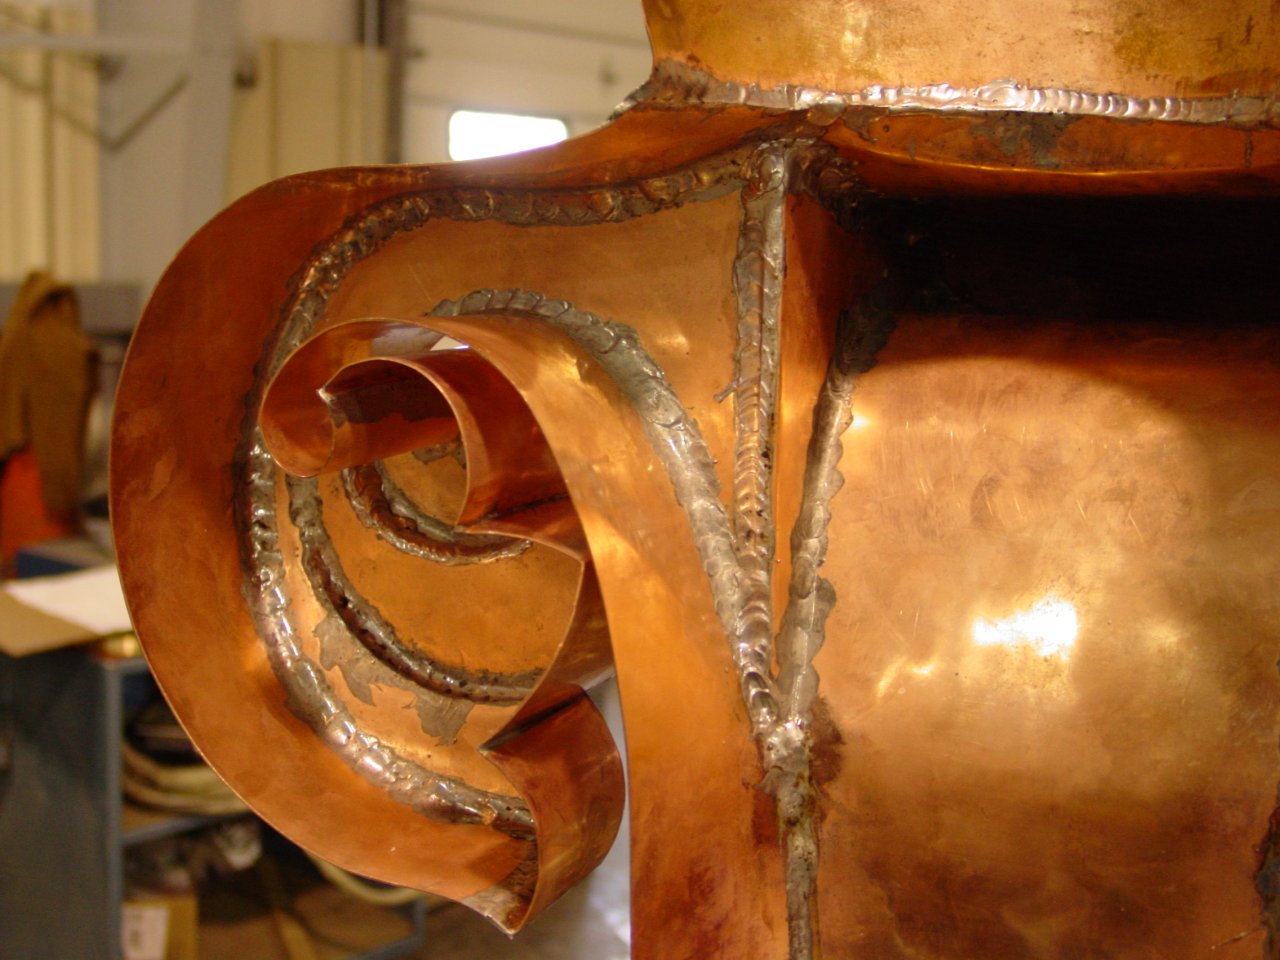
We machined a solid copper bar into the tooth profile, cut it into sections and soldered them in between the two face sheets
Once the excess sheet metal is trimmed and filed smooth Willy’s got a full set of choppers!
All cleaned up and ready to deliver
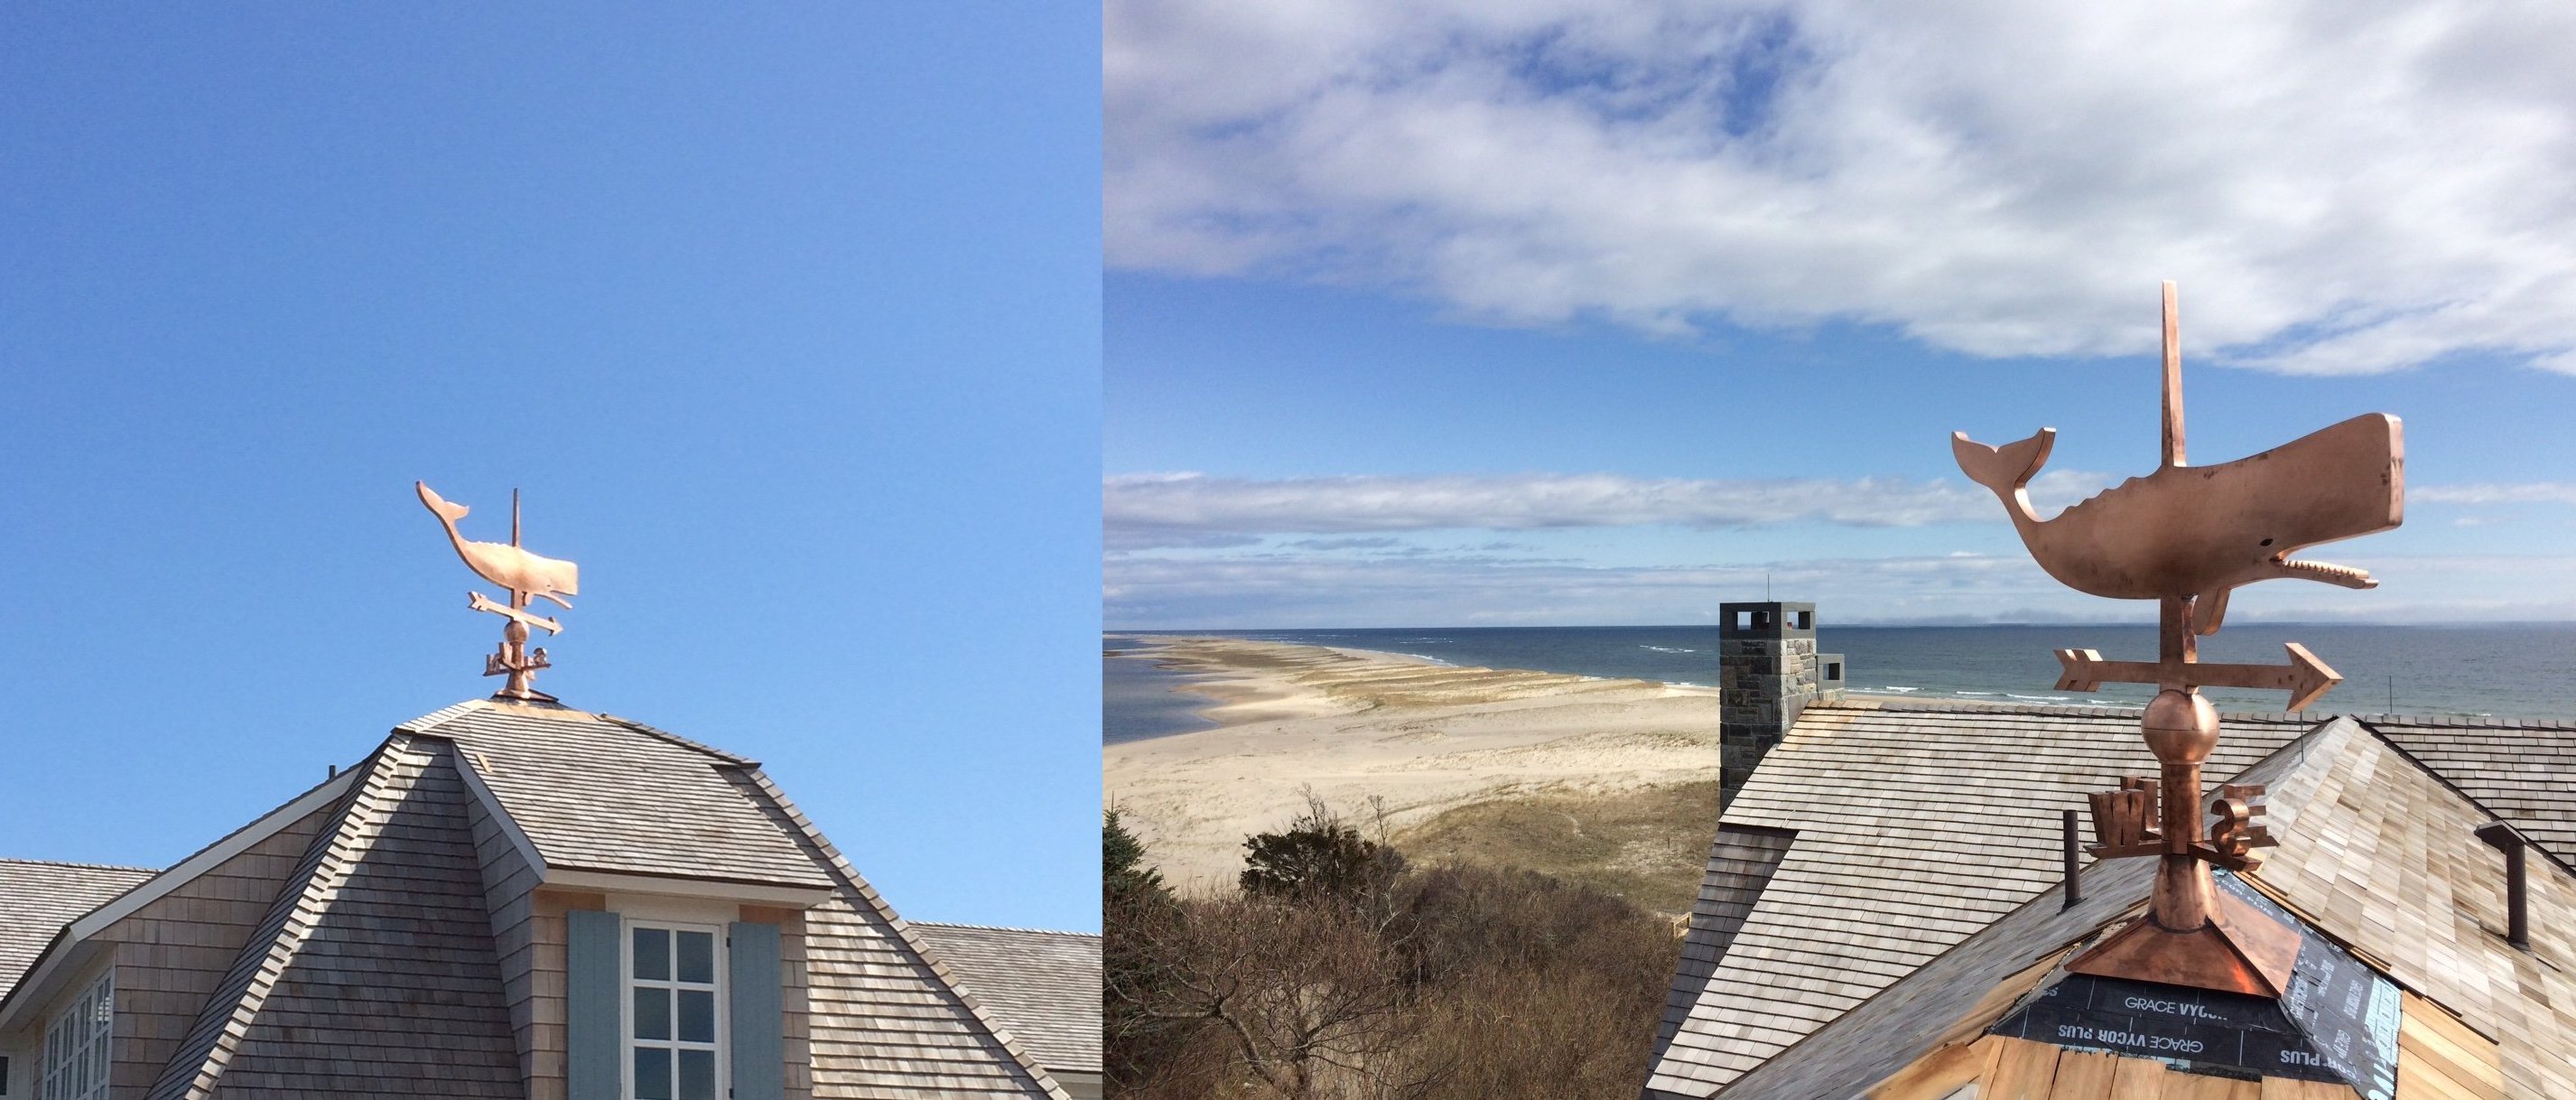
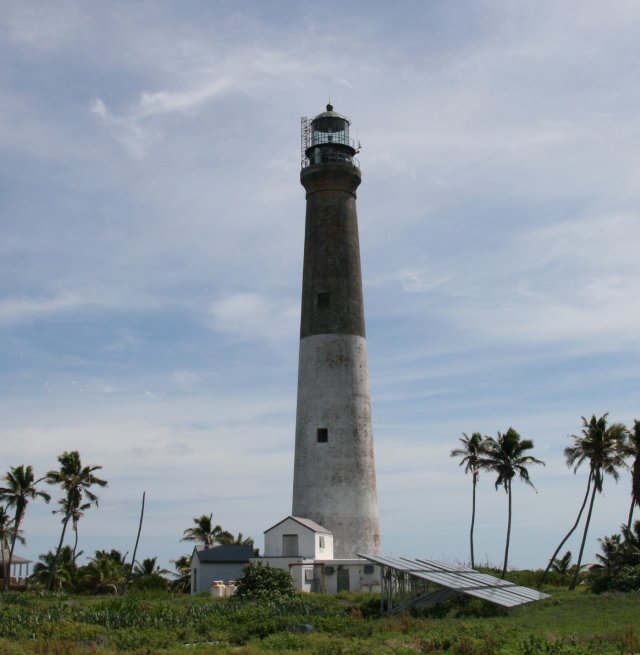
Here it is at it’s new home on the beach